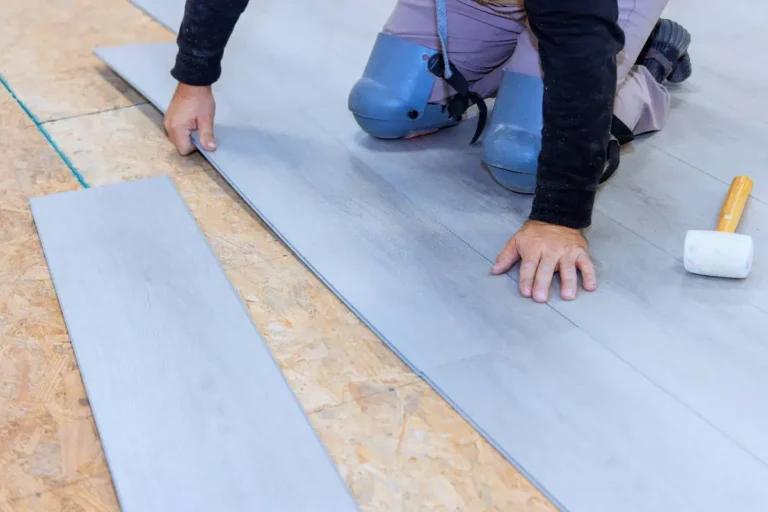
How to Install Vinyl Plank Flooring on Stairs: A Complete Step-by-Step Guide
Installing vinyl plank flooring on stairs is an excellent way to enhance the look of your home while ensuring durability and ease of maintenance. Whether you’re upgrading your stairs with vinyl plank flooring on steps or adding LVP stairs to a more modern aesthetic, the process is straightforward with the right guidance. This guide will take you through every step, from how to install vinyl flooring on stairs with nosing to how to properly fit vinyl plank flooring on curved stairs. With the right tools and materials, you’ll learn exactly how to put vinyl flooring on stairs and how to install vinyl plank flooring on stairs with or without nosing, providing a professional finish. By following our step-by-step instructions, you can confidently achieve vinyl plank on stairs that will stand up to everyday use while adding a sleek, updated look.
Introduction to Installing Vinyl Plank Flooring on Stairs
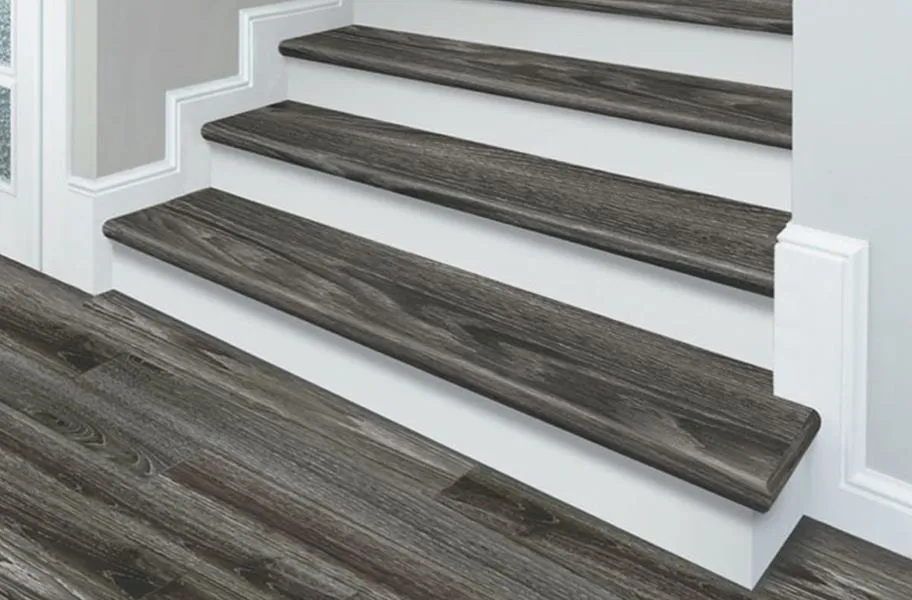
Installing vinyl plank flooring on stairs is a popular and practical choice for homeowners looking to update their stairs with a modern, durable material. Unlike traditional wood or carpet, vinyl plank flooring on stairs offers a combination of style, durability, and easy maintenance. Whether you are installing LVP stairs for the first time or replacing old carpeting with vinyl plank flooring on steps, understanding the installation process is key to achieving a professional finish.
In this guide, we’ll walk you through the steps needed to install vinyl plank flooring on stairs. You’ll also learn about various aspects of the process, such as how to install vinyl plank flooring on curved stairs, how to put vinyl floor on stairs, and how to install vinyl flooring on stairs with nosing.
Why Choose Vinyl Plank Flooring for Stairs?
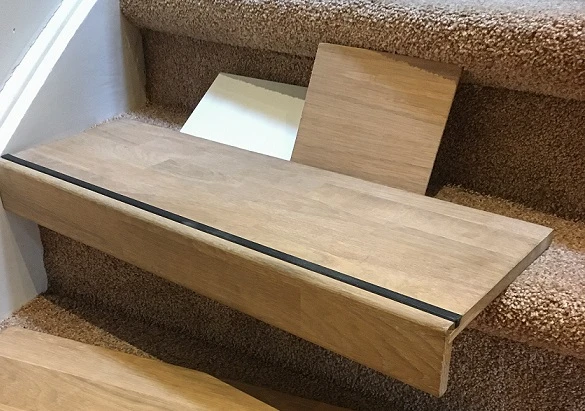
Vinyl plank flooring offers many advantages, making it an ideal choice for stairs in both functional and aesthetic aspects. Here are a few reasons why you should consider vinyl plank flooring on stairs:
- Durability: Vinyl plank flooring is known for its ability to withstand heavy foot traffic, making it perfect for high-traffic areas like stairs.
- Water Resistance: Unlike hardwood or carpet, vinyl plank flooring is waterproof, ensuring protection from spills or moisture.
- Variety of Designs: With a wide range of styles, LVP on stairs can mimic hardwood or stone, allowing you to achieve the look of a premium flooring material without the cost or maintenance.
- Easy to Install: Whether you choose how to install vinyl flooring on stairs with nosing or without, the installation process is relatively simple, especially with peel-and-stick or click-lock vinyl planks.
- Cost-Effective: Compared to traditional hardwood, vinyl plank flooring is more budget-friendly while still providing long-lasting beauty and functionality.
Benefits of Installing Vinyl Plank Flooring on Stairs
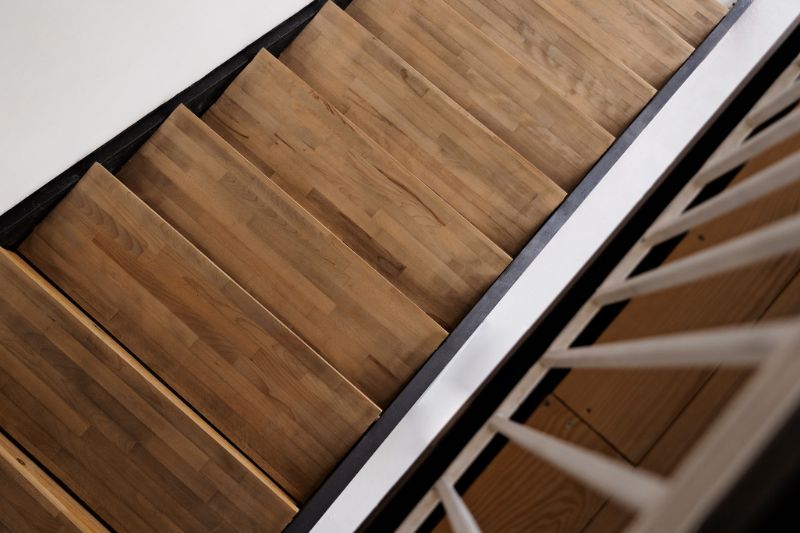
There are numerous benefits to installing vinyl plank flooring on stairs that make it a great choice for both aesthetic appeal and practical reasons. These benefits include:
- Slip Resistance: Many vinyl plank flooring options come with a textured surface, making them slip-resistant, which is essential for stairs.
- Ease of Maintenance: Unlike carpet or wood, vinyl plank flooring on stairs requires minimal maintenance. You can simply sweep or mop to keep it clean.
- Affordability: Installing vinyl plank flooring on stairs is typically less expensive than other materials, especially when you consider the cost of professional installation for hardwood or tile.
- Noise Reduction: The density of LVP stairs helps to reduce noise, making it ideal for multi-level homes where sound insulation is important.
- Resilience: Vinyl plank flooring on steps is highly durable and can resist scratches, stains, and dents from everyday use.
- Installation Flexibility: How to install vinyl plank flooring on stairs varies based on the type of stairs you have. From open stairs to ones with spindles, there’s a method for every style. You can choose to install vinyl flooring on stairs without nosing or opt for a cleaner look with vinyl flooring on stairs with nosing.
Tools and Materials Needed for Vinyl Flooring Installation on Stairs
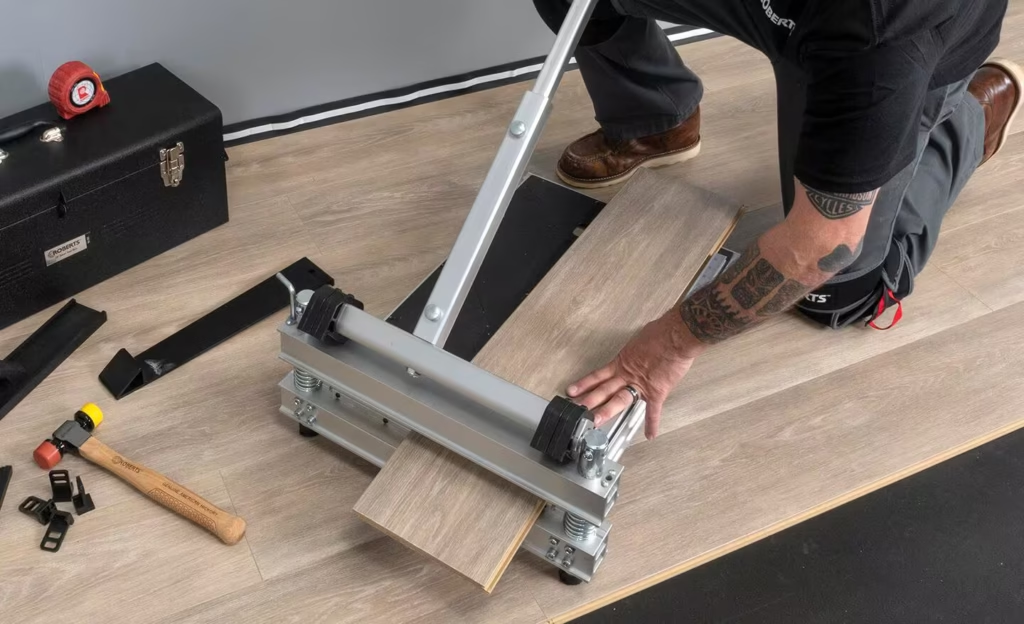
To install vinyl plank flooring on stairs, having the right tools and materials is crucial for a smooth and successful installation. Whether you are a DIY enthusiast or a professional installer, being prepared with the correct equipment ensures that the job is done efficiently, without damaging the stairs or the vinyl plank flooring itself. Here’s a list of essential tools and materials you will need for the job.
Tools for Installing Vinyl Flooring on Stairs
When it comes to installing vinyl plank flooring on stairs, having the right tools can make the entire process easier and quicker. Below is a list of tools you’ll need to ensure a seamless installation:
- Measuring Tape: Accurate measurements are key to cutting your vinyl plank flooring on stairs to the right size. A measuring tape will help you get precise dimensions of the stair treads and risers.
- Utility Knife: A utility knife with a sharp blade is essential for cutting vinyl planks to fit your stairs. A scoring tool may also come in handy for making clean cuts.
- Jigsaw: If your stairs have any curves or corners, a jigsaw will allow you to make more intricate cuts, ensuring a perfect fit.
- Rubber Mallet: Use a rubber mallet to gently tap your vinyl planks on stairs into place without damaging the edges or surface of the material.
- Level: Ensure that your vinyl planks are installed evenly across each stair tread and riser by using a level to check for any inconsistencies.
- Chalk Line: A chalk line will help you mark straight lines for cutting, ensuring the edges of your planks align correctly.
- Notched Trowel: If you’re using glue-down vinyl plank flooring on stairs, a notched trowel will help you apply the adhesive evenly for proper bonding.
Materials You Need for Vinyl Plank Flooring Installation
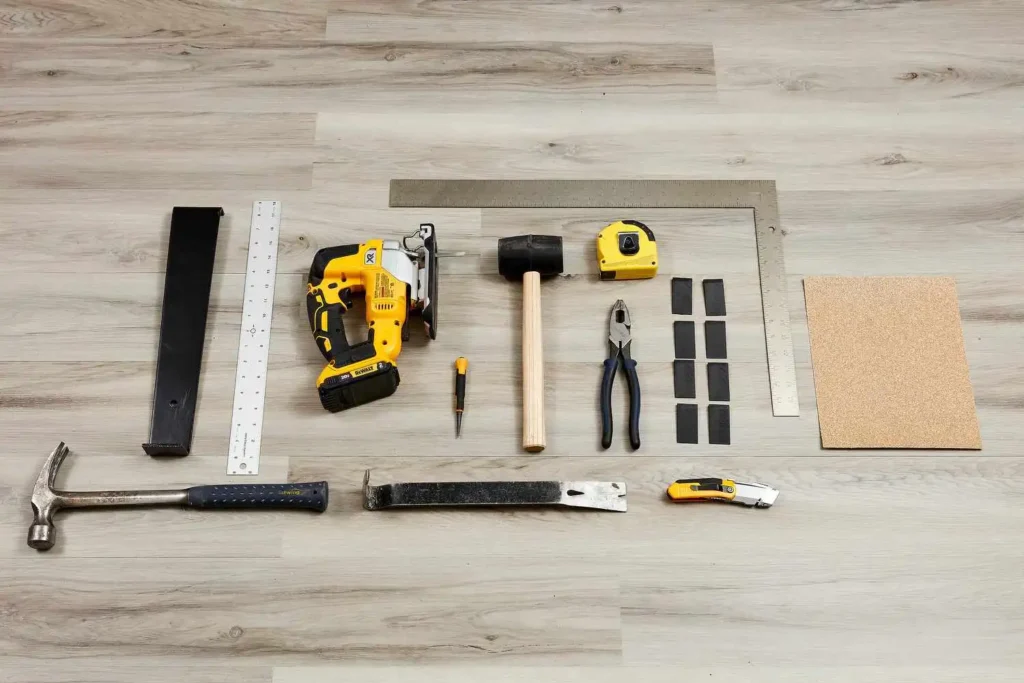
In addition to the tools, the materials you use are just as important for a successful installation. Here’s a list of materials required to install vinyl plank flooring on stairs:
- Vinyl Planks: Choose the right type of vinyl plank flooring suitable for stairs. You can select waterproof vinyl planks, which are especially useful for stairs exposed to moisture.
- Underlayment (Optional): Although some vinyl plank flooring comes with an attached underlayment, you may want to install additional padding to reduce noise and provide extra cushioning. This is especially important if you are installing vinyl flooring on stairs without nosing.
- Vinyl Adhesive: If you’re opting for a glue-down installation, vinyl adhesive will be needed to secure the planks to the stairs. Make sure to use the right type of adhesive recommended by the vinyl plank manufacturer.
- Stair Nosing: If you’re finishing your stair treads with a polished edge, stair nosing provides a clean look and ensures the vinyl flooring on stairs stays in place.
- Tacks or Staples (Optional): For extra security, tacks or staples can be used to hold the planks down temporarily while the adhesive cures.
Preparation for Installing Vinyl Plank Flooring on Stairs
Before diving into the installation of vinyl plank flooring on stairs, it’s essential to properly prepare the staircase. Preparation ensures a solid foundation for your vinyl planks, preventing any issues down the road and enhancing the lifespan of your flooring. This step is crucial in making sure the vinyl flooring adheres well and stays in place for years to come. Here’s how you can get your stairs ready for the installation process.
Preparing the Stairs for Vinyl Plank Installation
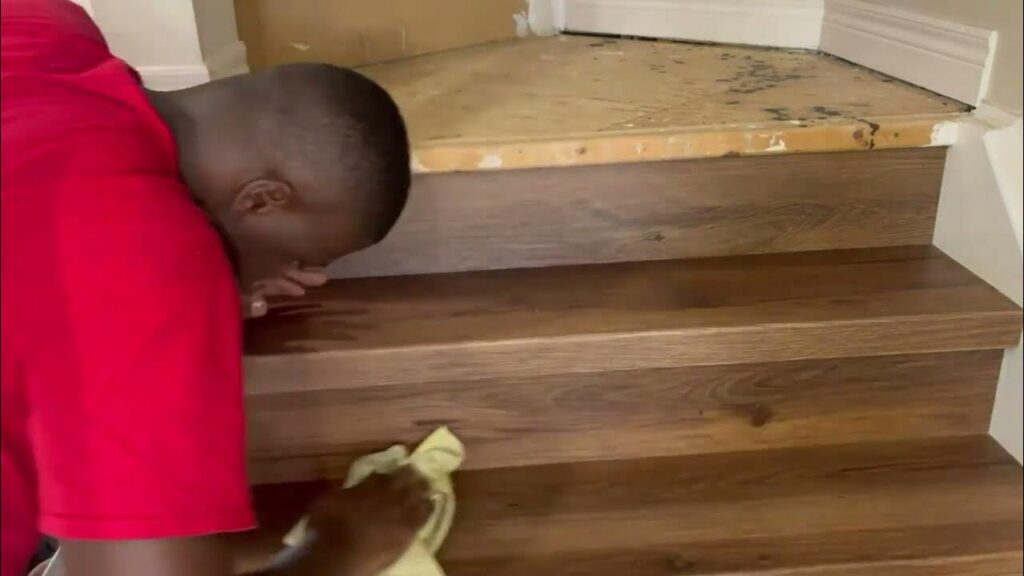
Properly preparing your stairs is key to ensuring that your vinyl flooring on stairs fits securely and performs well over time. Follow these steps to prepare your stairs before laying down the vinyl planks:
- Remove Old Flooring: Start by removing any existing flooring, such as carpet, hardwood, or laminate, from your stairs. This will ensure the vinyl planks can bond directly to the stair surface without any interference from old materials.
- Check for Damages: Inspect your stair treads and risers for any damage, such as cracks, splinters, or loose parts. If there are any issues, you may need to repair or replace sections of the staircase before proceeding with the vinyl plank flooring installation.
- Ensure Proper Subfloor: If your stairs are made of wood, check the condition of the subfloor. It should be clean, dry, and level. If the subfloor is uneven, use a leveling compound to correct any imperfections before applying vinyl flooring on stairs.
- Cutting and Fitting: Measure the dimensions of each stair tread and riser carefully, and make sure to cut your vinyl planks to fit each part of the staircase. Use a utility knife or jigsaw to achieve precise cuts, ensuring the planks fit snugly.
How to Clean and Prep the Staircase Surface
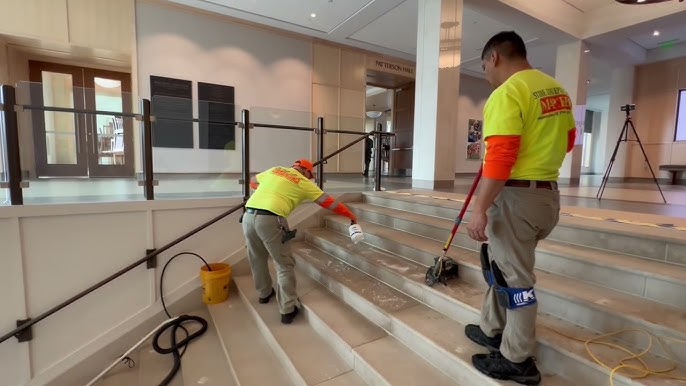
Properly cleaning and prepping the surface of your stairs is vital to ensure that the vinyl plank flooring on stairs adheres properly. Follow these cleaning steps to prepare the surface before installing your vinyl planks:
- Sweep and Vacuum: Begin by sweeping and vacuuming the entire staircase to remove dirt, dust, and debris. Any particles left behind can interfere with the installation of your vinyl planks and may cause them to not adhere properly.
- Wash with Soap and Water: Clean the surface of the stairs using mild soap and water to remove grease, stains, and other contaminants that could affect the adhesion of the vinyl flooring on stairs.
- Dry the Stairs: After cleaning, allow the stairs to dry completely. It’s crucial that the surface is dry to ensure that your vinyl planks stick properly and to avoid trapping moisture underneath.
- Remove Adhesive Residue: If any old adhesive or glue is left on the stairs, use an adhesive remover or a mixture of warm water and vinegar to dissolve it. This step is essential to prevent any sticking issues during the installation of your vinyl planks on stairs.
- Check for Smoothness: Ensure the surface of the stairs is smooth and free from rough patches. If needed, sand down any uneven areas to create a smooth surface for the vinyl flooring installation.
How to Install Vinyl Plank Flooring on Stairs: A Step-by-Step Guide
Installing vinyl plank flooring on stairs can transform the look and feel of your staircase. It provides durability, style, and ease of maintenance. Follow this step-by-step guide to ensure you complete the installation successfully. By taking each step carefully and accurately, your vinyl flooring on stairs will look seamless and last for years.
Step 1: Install Stair Risers for Vinyl Flooring
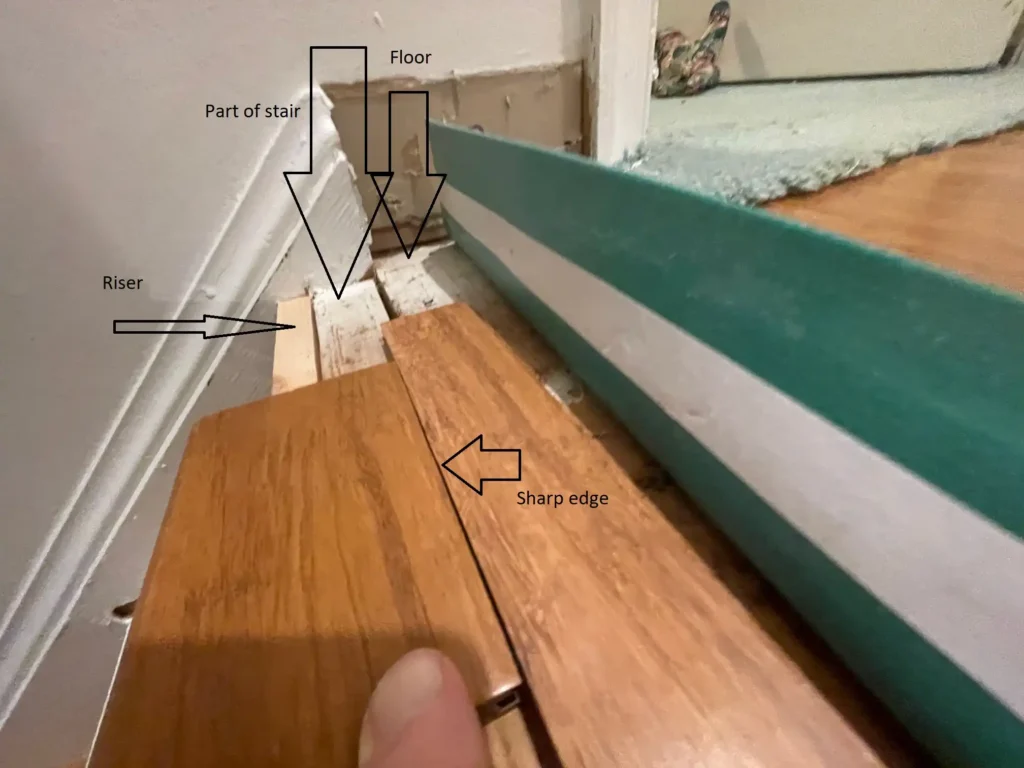
The stair riser is the vertical part of the step, and installing it correctly is crucial for a smooth and professional finish. Here’s how you can install stair risers for vinyl plank flooring on stairs:
- Measure the Riser: Measure the height of each riser to ensure accurate cuts. Make sure to measure each riser individually, as some stairs might have slightly different measurements.
- Cut the Vinyl Plank: Use a utility knife or jigsaw to cut the vinyl plank to the appropriate size for each stair riser.
- Apply Adhesive: Apply a thin, even layer of adhesive to the riser area using a notched trowel.
- Attach the Riser: Carefully position the cut vinyl plank onto the riser, ensuring it fits snugly against the edges. Press it down to ensure proper adhesion.
- Repeat for All Risers: Complete the same process for each stair riser, ensuring a clean, tight fit for each.
Step 2: Measure and Cut Vinyl Plank for the Stair Tread
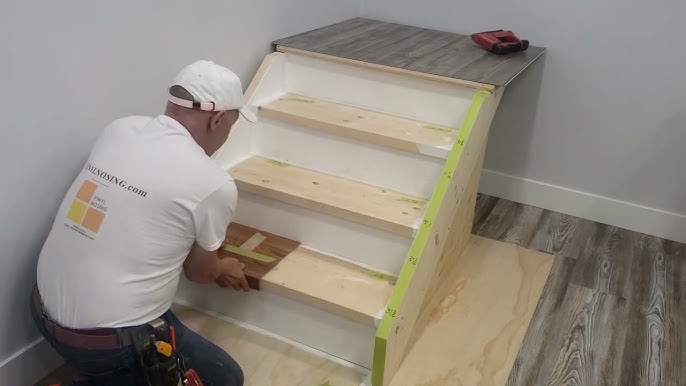
The stair tread is the horizontal part of the step that you walk on, and it requires precise measurements for a proper fit.
- Measure the Stair Tread: Measure the width and depth of each tread. Ensure you take precise measurements of the tread’s length and width, including any curves or unique shapes.
- Cut the Vinyl Plank: Using a utility knife or saw, carefully cut the vinyl plank to match the tread measurements. Make sure the plank fits exactly and covers the entire area of the tread.
- Dry Fit the Plank: Before applying any adhesive, dry fit the plank on the stair tread to ensure it fits properly and makes the best use of your material.
Step 3: How to Install a Stair Tread on Vinyl Plank Stairs
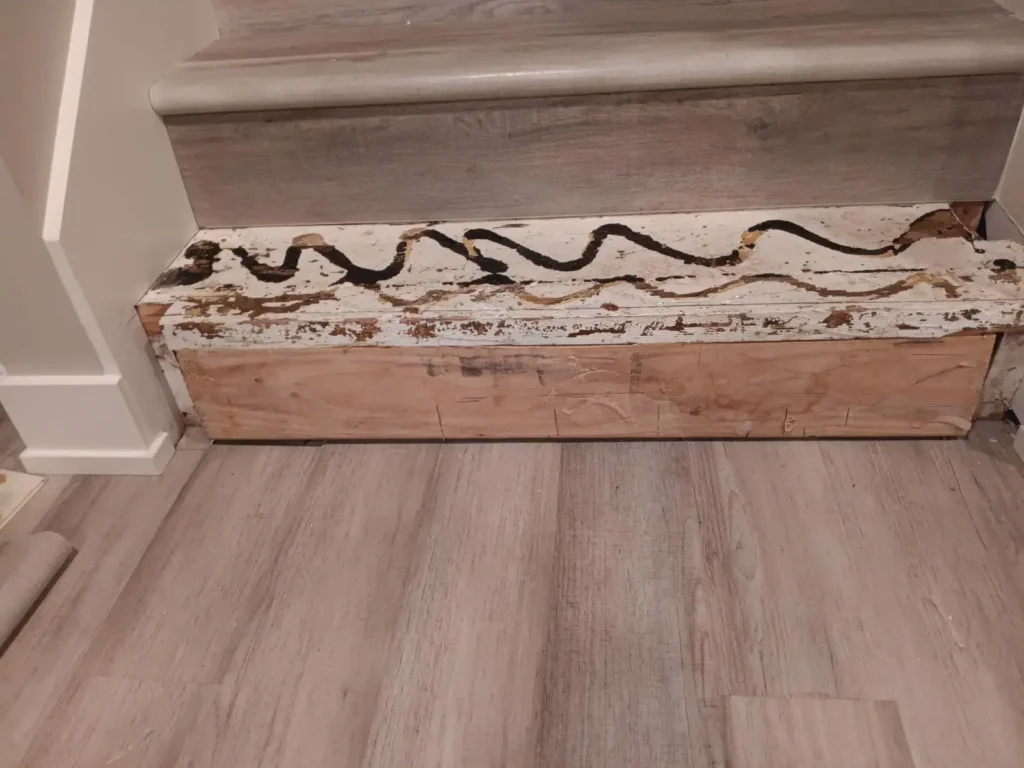
Now that you’ve cut the vinyl plank for the stair tread, it’s time to install it.
- Apply Adhesive: Apply a thin layer of adhesive to the entire surface of the stair tread. Use a notched trowel to spread the adhesive evenly for optimal bonding.
- Place the Plank: Carefully position the cut vinyl plank onto the tread, ensuring it aligns with the edges and covers the entire tread.
- Press and Smooth: Press down firmly on the vinyl plank, ensuring the adhesive bonds well. Use a rolling pin or hand roller to smooth out any air bubbles or wrinkles in the plank.
- Trim Excess: If any excess vinyl plank hangs over the edges of the stair tread, trim it using a utility knife to create a clean, professional finish.
Step 4: Installing Stair Nose for Vinyl Flooring on Stairs
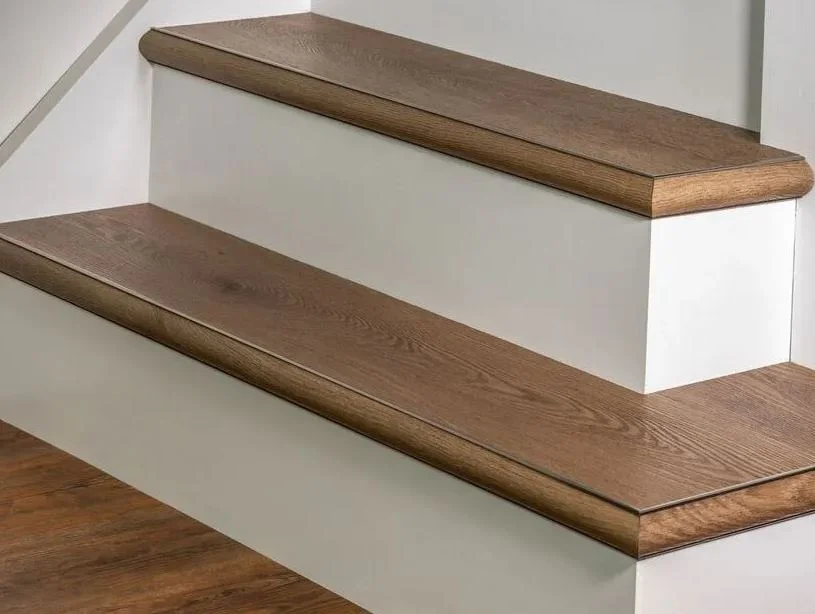
The stair nose is the edge piece that finishes off the edge of each stair. It provides a clean, durable finish that protects the corners of the stairs.
- Measure and Cut the Stair Nose: Measure the width of the stair tread and cut the stair nose piece to match. The stair nose should sit securely over the edge of the stair tread.
- Apply Adhesive: Apply a thin layer of adhesive to the edge of the stair tread where the stair nose will be installed.
- Attach the Stair Nose: Position the stair nose over the edge of the stair tread, ensuring it fits tightly and covers the edge properly.
- Secure and Press: Press down on the stair nose to ensure it adheres well. Use a rubber mallet to tap gently if needed.
Step 5: Repeat Steps Until Stairs Are Covered
Once you’ve installed the stair risers, treads, and stair noses for the first step, repeat these steps for the remaining stairs.
- Repeat Installation: Continue measuring, cutting, and installing the vinyl planks for each stair tread and riser, ensuring each piece fits tightly and securely.
- Check Alignment: Make sure that the planks align properly on each step and that the stair noses cover the edges neatly.
- Ensure Smoothness: As you go, smooth out any air bubbles or wrinkles in the vinyl plank flooring. Keep checking to ensure every plank is securely bonded to the surface.
Step 6: How to Install Vinyl Planks on a Landing
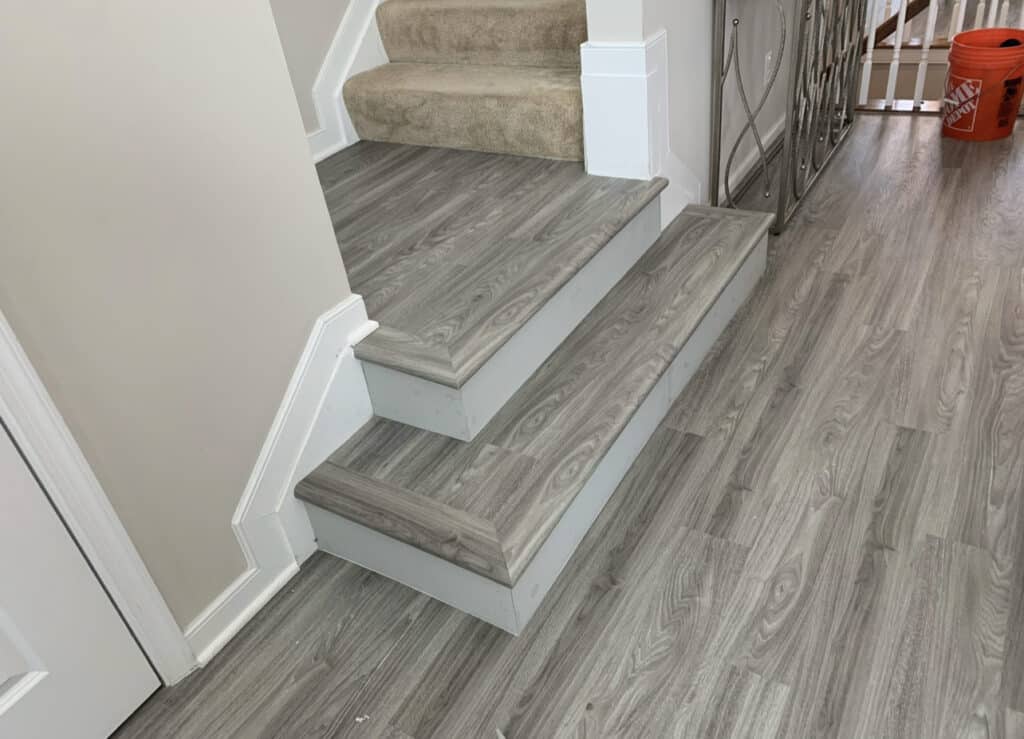
If your stairs have a landing, you will need to install vinyl planks on the flat surface as well.
- Measure the Landing Area: Measure the length and width of the landing to determine how many vinyl planks you will need.
- Cut the Planks: Cut the vinyl planks to fit the landing area, ensuring they cover the entire surface.
- Apply Adhesive: Spread adhesive on the landing using a notched trowel.
- Place the Planks: Position the vinyl planks on the landing and press them into place. Use a roller to ensure good adhesion.
- Trim and Fit: Trim any excess vinyl plank at the edges to ensure a perfect fit along the walls and edges of the landing.
Safety Considerations for Installing Vinyl Flooring on Stairs
When installing vinyl flooring on stairs, it’s crucial to keep safety in mind. Stairs are a high-traffic area, and ensuring they are properly installed is essential for avoiding accidents. Here are the important safety considerations to follow when working with vinyl plank flooring on stairs.
Slip Resistance and Safety Tips for Stairs
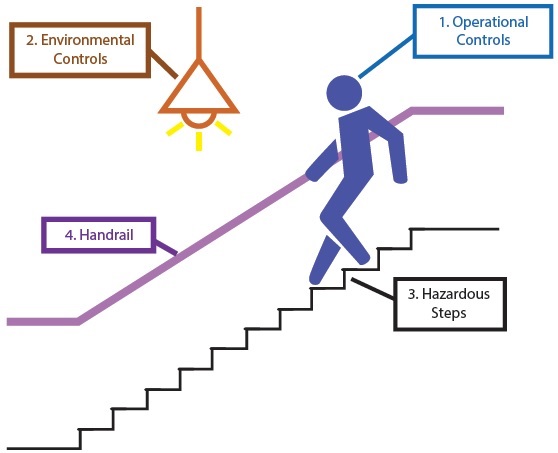
Ensuring slip resistance is vital when installing vinyl plank flooring on stairs. Slippery steps can lead to accidents, so take the following safety measures:
- Choose Textured Vinyl Planks: Select vinyl plank flooring with a textured surface or slip-resistant finish, specifically designed for high-traffic areas like stairs.
- Apply Anti-Slip Adhesive: For added safety, consider using an anti-slip adhesive or tape, especially around the edges of each stair tread and riser.
- Ensure Even Adhesion: Uneven adhesion can cause the flooring to loosen, leading to slips. Be sure to follow all steps for applying adhesive and pressing the planks firmly in place.
- Use Stair Tread Covers: If you want extra slip resistance, consider using vinyl stair tread covers, which are designed to provide traction and prevent slips.
- Test for Grip: Once the flooring is installed, test each step for grip by walking up and down carefully, checking for any spots that might be too slippery.
How to Ensure Proper Adhesion for a Safe Installation
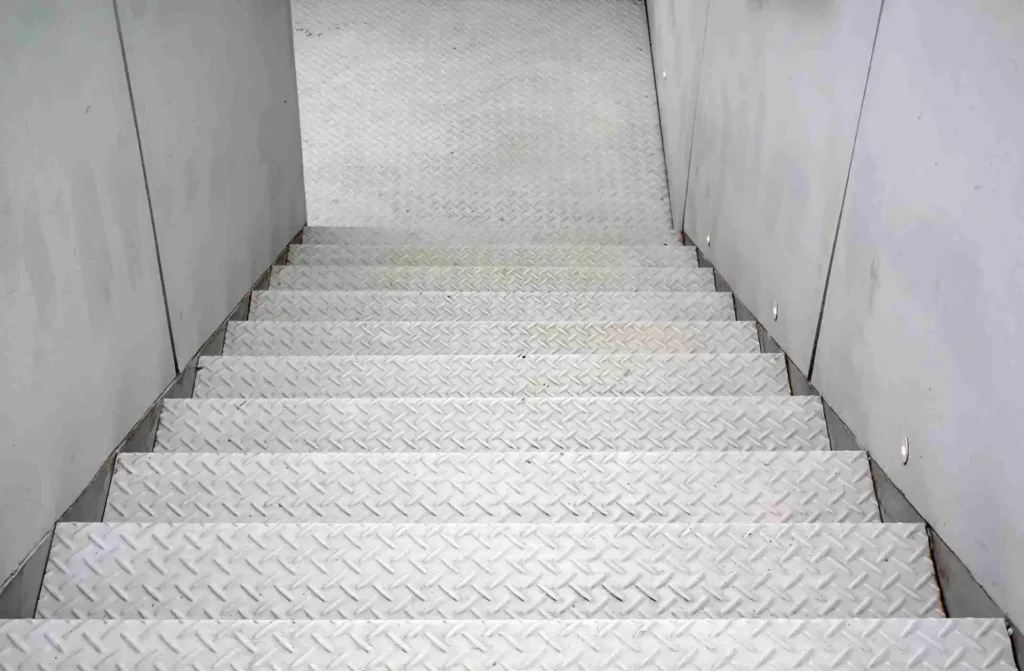
Proper adhesion is critical to the safety and durability of your vinyl plank flooring on stairs. If the planks aren’t securely bonded, they can shift or peel, leading to dangerous accidents. Here’s how to ensure proper adhesion during installation:
- Clean the Surface Thoroughly: Before applying adhesive, clean the surface of the stairs thoroughly to remove any dust, dirt, or debris. A clean surface ensures the adhesive bonds properly.
- Choose the Right Adhesive: Use high-quality adhesive that is specifically designed for vinyl plank flooring. Choose a product that’s made for stairs or high-traffic areas for maximum hold.
- Apply Adhesive Evenly: Use a notched trowel to spread the adhesive evenly across the stair tread and riser, making sure you cover the entire surface.
- Press Down Firmly: After placing the vinyl planks onto the adhesive, press down firmly to ensure good contact. Consider using a hand roller or tapping gently with a rubber mallet to secure the planks.
- Allow Proper Curing Time: Ensure that the adhesive has enough time to cure before using the stairs. Follow the manufacturer’s guidelines for the recommended drying time to ensure the best adhesion.
Common Mistakes to Avoid When Installing Vinyl Flooring on Stairs
When installing vinyl plank flooring on stairs, it’s easy to make mistakes, especially if you’re new to DIY home improvement. These errors can lead to poor installation quality, safety hazards, and unnecessary costs. To ensure a flawless and durable finish, here are the most common mistakes to avoid during your project.
Mistake #1: Not Prepping the Stairs Properly
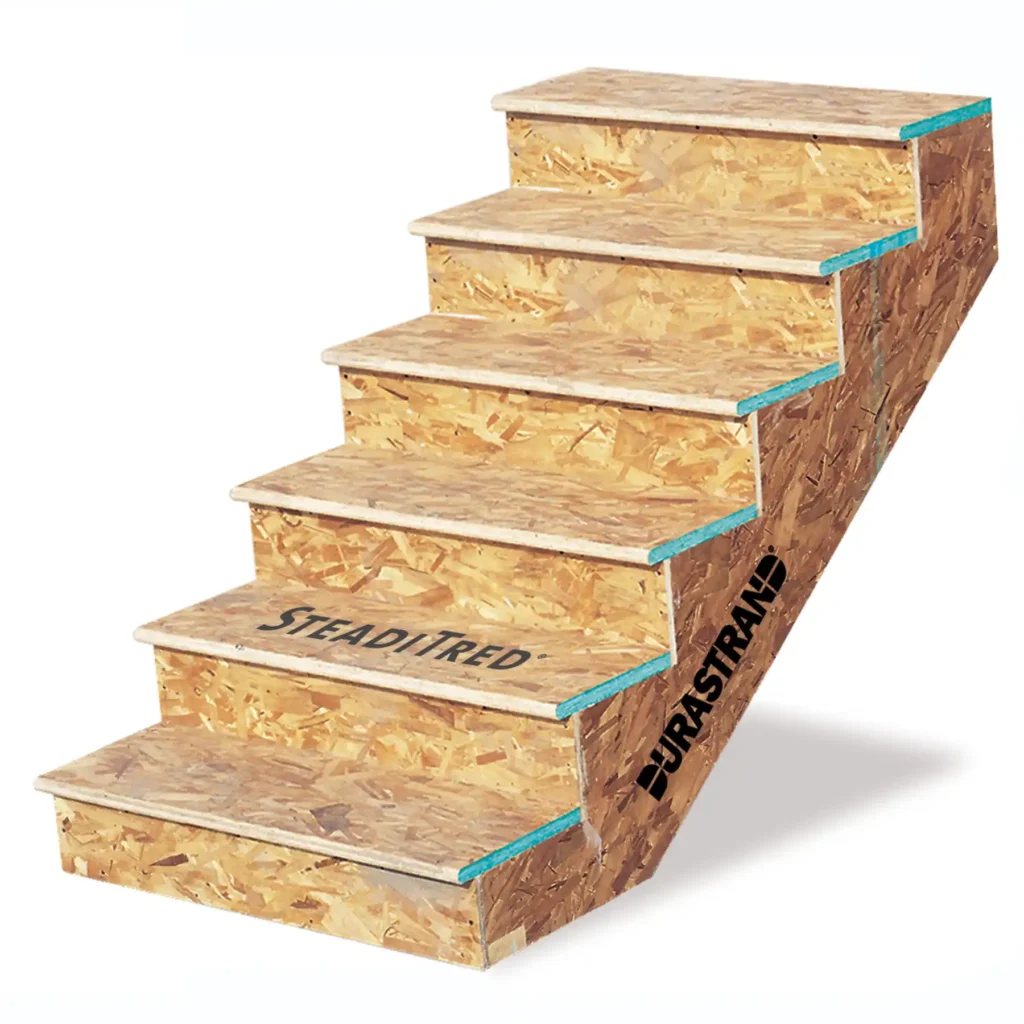
One of the most common mistakes is failing to properly prepare the stairs before installing vinyl flooring. If the stair surface is not cleaned or prepped well, the flooring may not adhere correctly, which could cause it to shift or peel over time. To avoid this mistake:
- Clean the Stairs Thoroughly: Sweep and vacuum the surface to remove dust, dirt, and debris that could interfere with adhesion.
- Check for Imperfections: Look for any cracks, holes, or damage that needs to be repaired before installation. Uneven surfaces can make the installation process more difficult.
- Ensure a Smooth Surface: If the stairs have any bumps or rough spots, sand or fill them to create a smooth, even surface.
Taking the time to properly prepare your stairs will lead to a more secure and professional finish.
Mistake #2: Overlooking Stair Nosing Installation
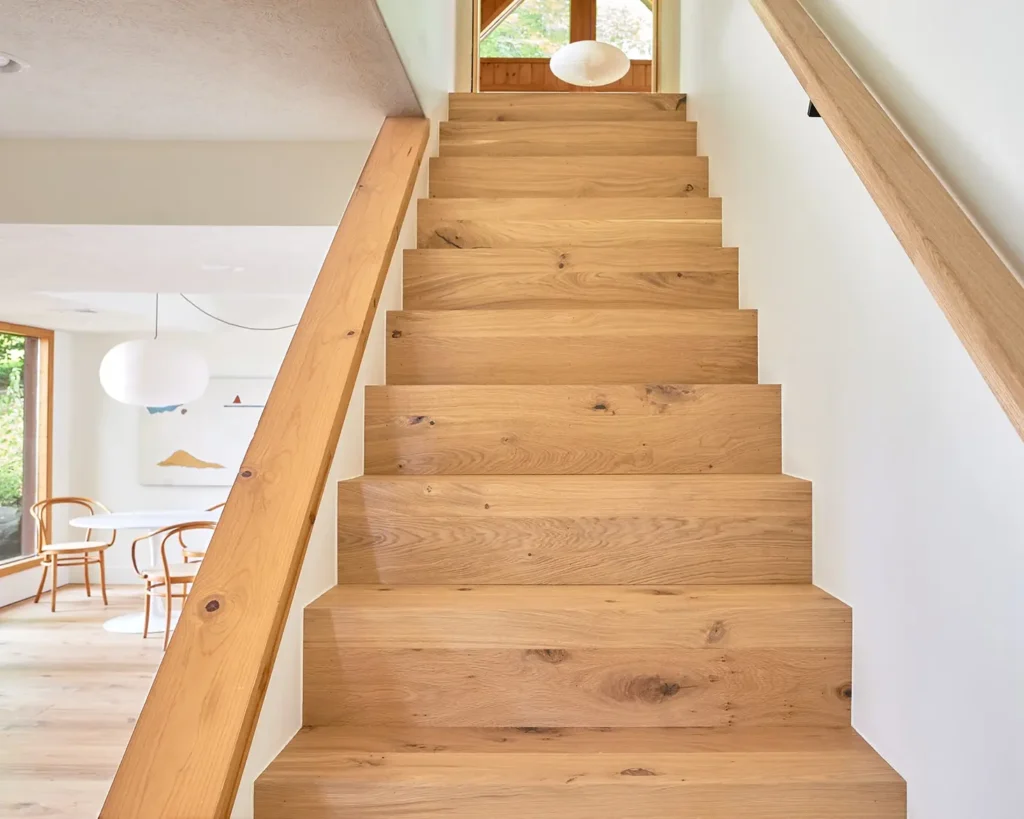
Stair nosing plays an important role in the appearance and safety of your vinyl plank flooring installation on stairs. Neglecting to install stair nosing properly can result in visible gaps, potential tripping hazards, and an unfinished look. Here’s how to avoid this mistake:
- Use Proper Stair Nosing: Ensure you’re using the right stair nose product designed for vinyl planks. These are available in various styles, including bullnose or square-edge, to match your flooring.
- Install Nosing Securely: Stair nosing should be secured to the edge of each stair tread for both aesthetic and safety reasons. It should overlap the vinyl planks slightly for a clean, finished edge.
- Ensure Smooth Transition: Install the stair nosing to provide a smooth transition between the vinyl planks and the floor beneath. This reduces the risk of slips and gives a polished look to your staircase.
Skipping this essential step could compromise both the aesthetics and safety of your stairs.
Mistake #3: Not Using the Right Tools for the Job
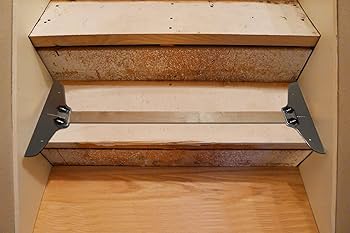
Using improper tools is another common mistake that can impact the quality of your vinyl plank flooring installation on stairs. Without the proper equipment, tasks like cutting, measuring, and securing vinyl planks become harder and less precise. To avoid this issue:
- Use a Quality Utility Knife: A sharp utility knife is essential for making clean cuts on your vinyl planks. Avoid using blunt blades, as they can tear or damage the vinyl.
- Invest in a Measuring Tape and Square: Accurate measurements are critical for fitting planks perfectly on stairs. A measuring tape and square will help you make precise cuts and ensure your planks fit snugly.
- Use a Rubber Mallet: A rubber mallet is perfect for tapping the planks into place without damaging them. It’s much gentler on the vinyl than a hammer.
- Use a Notched Trowel for Adhesive: A notched trowel ensures that adhesive is spread evenly across the stair surface, preventing areas with weak adhesion.
By using the right tools, you’ll make the installation process smoother, faster, and more precise, leading to a better end result.
How to Transition Flooring at the Top of Stairs
When installing vinyl plank flooring on stairs, it’s important to also consider how the floor transitions to other flooring types, especially at the top of the stairs. A smooth, seamless transition ensures that the flooring is not only visually appealing but also safe to walk on. Properly handling these transitions will prevent tripping hazards and create a cohesive look between rooms.
Transitioning Between Vinyl and Other Flooring Types
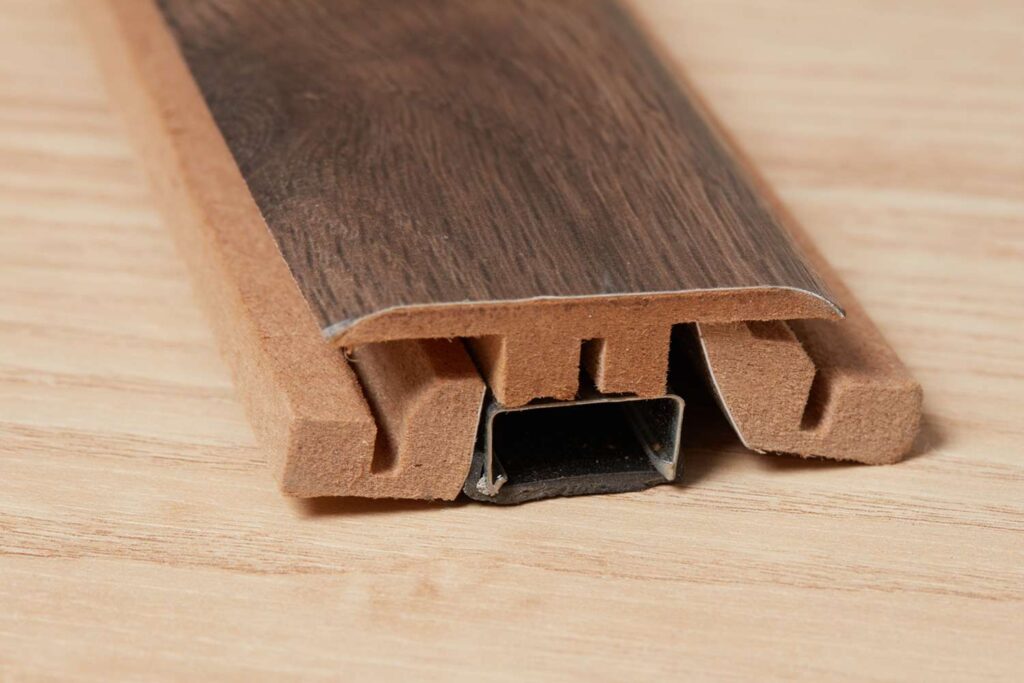
Transitioning between vinyl plank flooring and other flooring materials (such as hardwood, carpet, or tile) at the top of the stairs requires careful planning. This ensures that the floors meet at an even level and that there’s no abrupt change in height or texture that could cause accidents. Here’s how to handle it:
- Use a Transition Strip or Reducer: A transition strip (also known as a reducer) is essential for connecting different types of flooring, especially if they’re at different heights. Choose a transition strip that matches the color and style of your vinyl plank flooring for a seamless appearance.
- Align the Planks Properly: When reaching the top of the stairs, align the vinyl planks so that they flow smoothly into the adjoining flooring. If the floors are at different levels, make sure the transition strip provides a gentle slope between them.
- Consider the Flooring Height: If you’re transitioning to a floor with a different height (e.g., tile or hardwood), you may need to use a thicker transition strip to create a level surface. This will prevent any trip hazards from an uneven edge.
Properly installing a transition strip will help blend the vinyl plank flooring with other materials, ensuring both functionality and visual harmony.
How to Use Trim for a Smooth Transition at the Top of Stairs
Trim can be an effective solution for achieving a smooth, finished look where your vinyl plank flooring meets other types of flooring at the top of the stairs. It not only hides any gaps but also adds a professional touch to the installation. Here’s how to use trim for a smooth transition:
- Choose the Right Trim: Select trim that complements your vinyl flooring and matches the other flooring type. Common trim options include quarter-round, T-molding, or bullnose, each providing a different aesthetic depending on your design.
- Cut the Trim to Fit: Measure the exact length needed to cover the transition area at the top of the stairs. Use a miter saw for accurate cuts at the corners if your trim needs to turn at an angle.
- Attach the Trim Securely: Attach the trim using finishing nails or adhesive, depending on the trim material. Ensure that it covers the edge of the vinyl planks and creates a seamless transition with the adjacent flooring. Be careful not to leave visible gaps or uneven edges.
- Caulk for a Smooth Finish: After the trim is installed, use caulk to fill in any small gaps between the trim and flooring. This will give your installation a smooth and professional appearance.
Using trim correctly ensures that the vinyl plank flooring at the top of your stairs looks clean, polished, and transitions smoothly into the next room, providing both aesthetic appeal and safety.
Costs Involved in Installing Vinyl Plank Flooring on Stairs
When considering installing vinyl plank flooring on stairs, it’s essential to understand the costs involved. While the material itself is often more affordable than other types of flooring, additional expenses for installation can add up. Whether you’re opting for a DIY project or hiring a professional, it’s important to budget for all aspects of the installation.
Cost Breakdown: Vinyl Flooring Materials vs. Labor Costs
The cost of vinyl plank flooring installation is typically split between materials and labor. Here’s a breakdown of these costs:
- Vinyl Flooring Materials:
- On average, vinyl plank flooring costs between $2 to $7 per square foot, depending on the brand, quality, and style of the planks you choose. Higher-end options, such as luxury vinyl plank flooring, may cost even more.
- For stairs, you may need special trims or stair nosing, which can add another $1 to $2 per linear foot, depending on the material.
- Labor Costs:
- If you hire a professional to install your vinyl plank flooring on stairs, labor typically costs between $3 to $6 per square foot, though this can vary based on your location and the complexity of the job.
- The installation of vinyl plank flooring on stairs is a more detailed process than installing it on a flat surface, so labor costs may be higher due to the need for precise cutting and fitting.
- Some contractors charge per hour, with rates ranging from $30 to $75 per hour, depending on the region and their expertise.
Understanding this cost breakdown will help you plan your budget more effectively and determine if DIY installation is a feasible option.
Estimated Total Cost for DIY vs. Professional Installation
The total cost of installing vinyl plank flooring on stairs can vary significantly depending on whether you choose to tackle the project yourself or hire professionals. Below is an estimate of both options:
- DIY Installation Costs:
- Materials: For a staircase with an average size of 100 to 150 square feet, you can expect to spend between $200 and $700 on vinyl plank flooring materials.
- Additional Costs: Don’t forget to account for tools and equipment like a saw, measuring tape, adhesive, and stair nosing. These could add an additional $50 to $150 to your total, especially if you need to purchase tools for the first time.
- Total Estimated DIY Cost: A DIY installation could cost between $250 and $850, depending on the size of your stairs, the type of vinyl flooring you select, and any extra materials you need.
- Professional Installation Costs:
- Materials: For the same 100 to 150 square feet, you may spend between $200 and $700 on vinyl plank flooring materials (same as the DIY cost).
- Labor: Professional installation could add another $300 to $900 in labor costs, depending on the complexity and your location. Some contractors may offer package deals that include materials and installation at a reduced rate.
- Total Estimated Professional Installation Cost: The total cost for professional installation of vinyl plank flooring on stairs could range from $500 to $1,600 or more, depending on various factors like location and flooring quality.
Ultimately, choosing DIY installation will save on labor costs but requires time and skill. Hiring professionals may be a better option if you want a high-quality, hassle-free installation with less time commitment.
Maintenance Tips for Vinyl Flooring on Stairs
Maintaining vinyl plank flooring on stairs is essential to ensure its longevity and preserve its appearance. Regular cleaning and upkeep can prevent damage and keep your stairs looking fresh and new. Follow these maintenance tips to help prolong the life of your vinyl flooring on stairs and keep them in top condition.
How to Clean Vinyl Flooring on Stairs
Proper cleaning is crucial to keep your vinyl plank flooring looking spotless and free from dirt and grime. Here’s a simple guide to clean vinyl flooring on stairs effectively:
- Dust and Sweep Regularly:
- Use a broom, vacuum with a soft brush attachment, or a microfiber mop to remove dust and debris from the stairs. Sweeping regularly prevents dirt from scratching the surface of your vinyl flooring.
- Mopping:
- Mop your vinyl stairs with a damp mop. Ensure that the mop is not soaking wet to avoid excess water seeping into the edges of the vinyl planks. Use a mild cleaner specifically designed for vinyl flooring or a mixture of warm water and a few drops of dish soap.
- Avoid using harsh chemicals or abrasive cleaners, as they can damage the finish of your vinyl planks.
- Spot Cleaning Stubborn Stains:
- For stubborn spots, such as scuff marks or spills, gently rub the area with a soft cloth and a mixture of baking soda and water. This gentle method will not damage the flooring while removing stains.
- For sticky residue, apply a small amount of rubbing alcohol to a clean cloth and gently wipe the affected area.
- Drying:
- After mopping, dry the surface with a clean towel or cloth to prevent water from pooling in the corners of the stairs.
How to Maintain the Longevity of Vinyl Planks on Stairs
To keep your vinyl plank flooring on stairs looking pristine for years, it’s important to take proper care of the surface. Here are some tips to maintain the longevity of your flooring:
- Protect the Flooring from Scratches:
- Place mats or rugs at the top and bottom of the stairs to minimize dirt and grit buildup that can scratch the surface. Ensure that these mats are non-slip to avoid accidents.
- Consider using felt pads or furniture protectors on furniture or items that come into contact with the stairs, especially if you move heavy items.
- Avoid Excessive Moisture:
- Vinyl flooring on stairs is water-resistant but not completely waterproof. Avoid standing water, as it can damage the adhesive and cause the vinyl to lift. If you spill any liquid, wipe it up immediately.
- Reapply Protective Sealant:
- Over time, the protective finish on your vinyl planks may wear down. Consider applying a clear vinyl floor polish or sealant to restore the shine and provide an additional layer of protection.
- Inspect for Damage:
- Periodically check your stairs for signs of wear or damage, such as scratches, dents, or loose planks. Address any issues immediately to avoid further damage and ensure the safety of your stairs.
- Avoid High Heels and Heavy Foot Traffic:
- If possible, avoid wearing high heels or shoes with rough soles on your vinyl plank flooring to reduce the risk of indentations and scuffing. If your stairs experience heavy foot traffic, ensure that you clean and maintain them more frequently.
Conclusion: Final Thoughts on Installing Vinyl Plank Flooring on Stairs
Installing vinyl plank flooring on stairs is a fantastic way to enhance the look, durability, and functionality of your staircase. This comprehensive guide has walked you through each step of the installation process, from preparation to the final touches. If you follow the outlined steps and take the necessary precautions, you can achieve a beautiful and long-lasting result.
The Benefits of Installing Vinyl Flooring on Stairs
Vinyl plank flooring offers several benefits, making it an excellent choice for stairs. Here are the key advantages:
- Durability:
- Vinyl flooring is known for its strength and resilience, making it perfect for high-traffic areas like stairs. It’s resistant to scratches, stains, and moisture, ensuring it will last for years without showing signs of wear.
- Aesthetic Appeal:
- With a wide range of colors, patterns, and finishes available, vinyl planks can mimic the look of wood, stone, or other high-end materials, offering a stylish upgrade to your staircase.
- Ease of Maintenance:
- Unlike other flooring types, vinyl plank flooring requires minimal maintenance. Regular sweeping and occasional mopping are enough to keep it looking great, making it ideal for busy households.
- Affordability:
- Compared to traditional hardwood or tile options, vinyl plank flooring is a more budget-friendly choice, allowing you to achieve a high-end look without breaking the bank.
- Comfort:
- Vinyl flooring offers a more comfortable feel underfoot compared to harder surfaces like wood or stone, making it safer and more comfortable to walk on.
Why Vinyl Plank is a Great Choice for Stairs
Vinyl plank flooring is particularly well-suited for stairs due to several reasons:
- Slip-Resistance:
- Many vinyl plank flooring options are designed with slip-resistant properties, which is essential for stairs to prevent accidents and ensure safety.
- Easy Installation:
- Vinyl planks are relatively easy to install compared to other flooring types. Whether you choose to do it yourself or hire a professional, the installation process is quicker and less labor-intensive.
- Water and Moisture Resistance:
- Stairs, especially in areas like basements or bathrooms, can be exposed to moisture. Vinyl plank flooring is highly resistant to water, which prevents damage from spills or leaks.
- Versatility:
- Whether your home has a modern or traditional aesthetic, vinyl plank flooring is versatile enough to complement any décor. Plus, it can be installed over existing stairs without the need for removal, making it a convenient choice for renovation projects.

