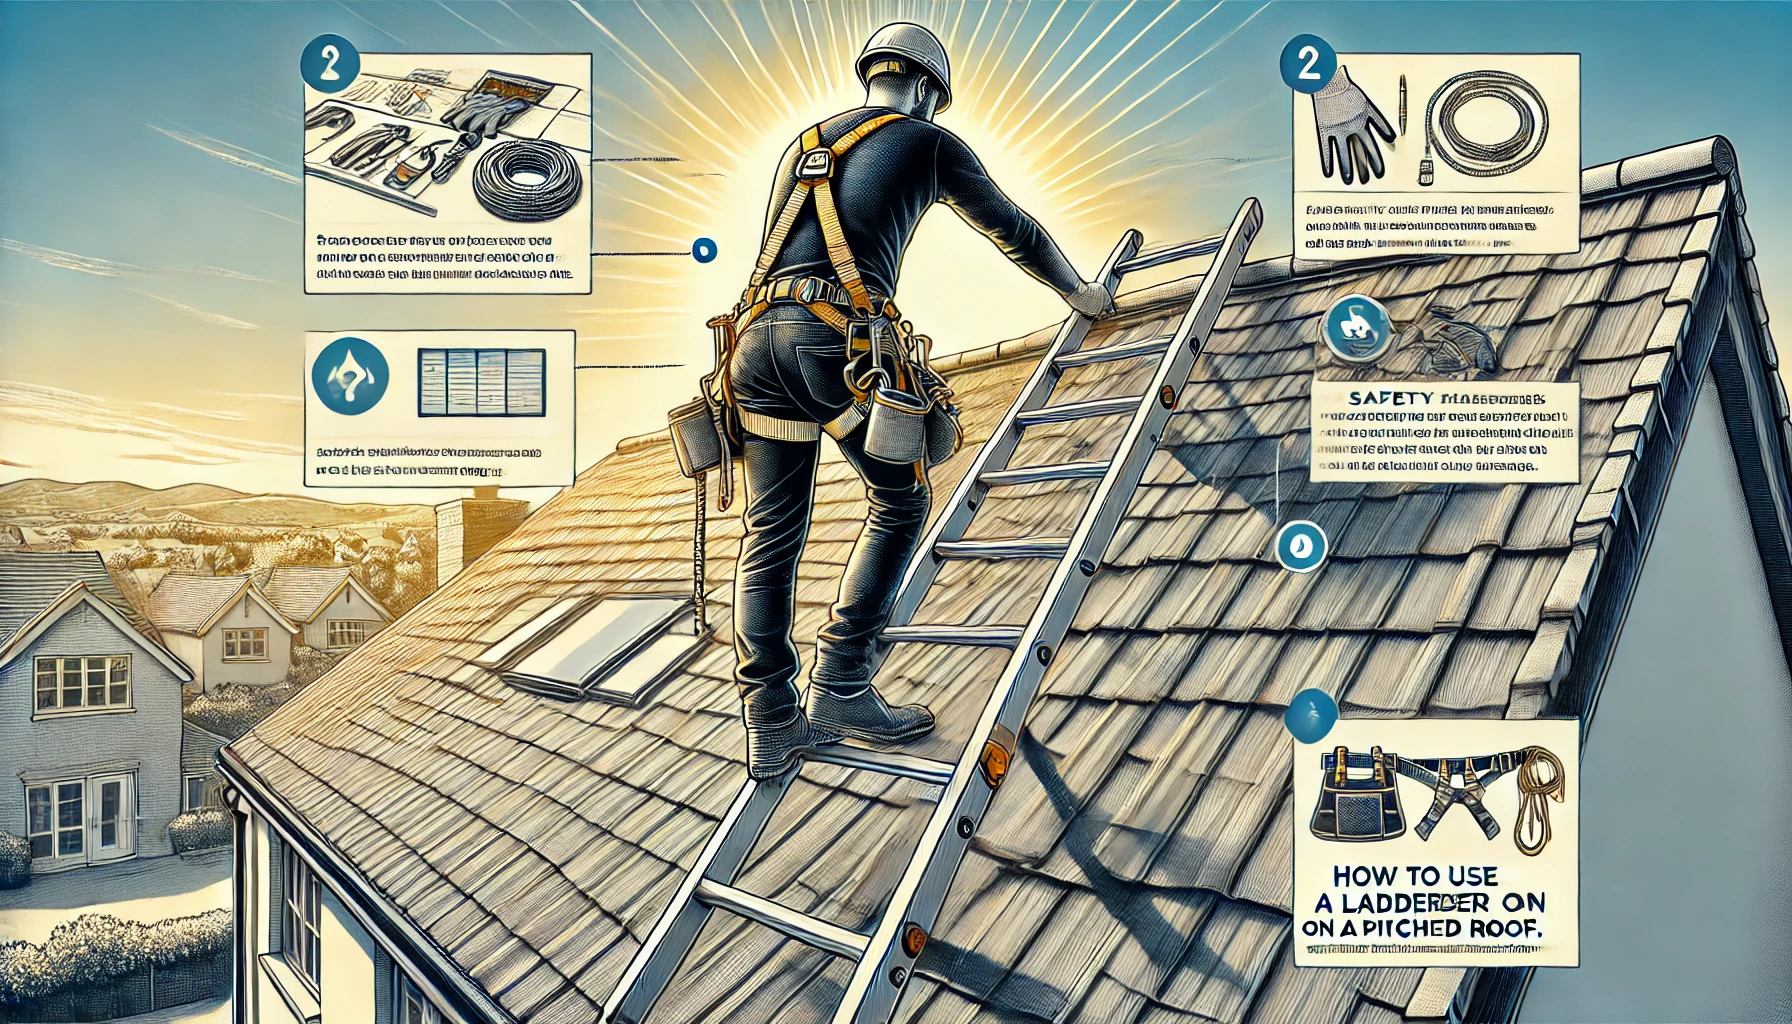
How to Use a Ladder on a Pitched Roof: Essential Tips for Safety and Stability
Using a ladder on a pitched roof requires careful planning and proper technique to ensure both safety and stability. Whether you’re installing shingles, cleaning gutters, or performing roof maintenance, it’s crucial to know how to use a ladder on a pitched roof correctly. To start, ensure your ladder is the right type for sloped surfaces, like an extension ladder or a Little Giant ladder, designed for angled roofs. When placing the ladder, make sure it’s set at a safe angle of about 75 degrees and secured properly. For added security, consider using a ladder stabilizer or Pivit ladder tool to prevent slipping. Always keep in mind that using a ladder on a sloping roof requires extra care, especially when working with gutters or on steep roof slopes. Properly stabilizing your ladder ensures a safe and productive experience when working on a pitched roof.
Why Proper Ladder Use on a Pitched Roof is Crucial
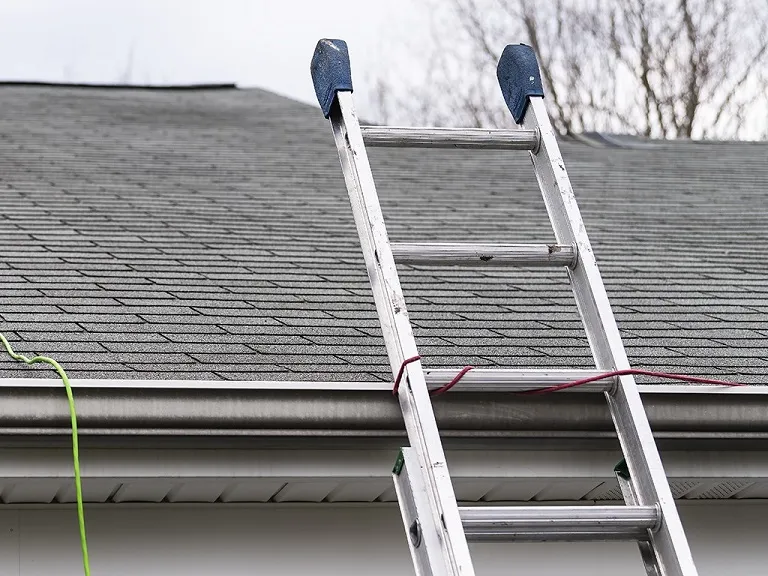
Using a ladder on a pitched roof requires extra attention to safety due to the natural incline of the surface. Properly securing your ladder and ensuring it’s at the right angle is crucial to avoid accidents. Without the right setup, you risk slipping, tipping, or even falling from a height, which can cause serious injuries. When you learn how to use a ladder on a pitched roof correctly, you’ll ensure maximum stability and safety.
For a safe and efficient roof task, it’s important to use the right tools and follow safety protocols. Ladder stabilizers or tools like the Pivit ladder tool can help ensure your ladder stays in place on a sloping roof. By taking the time to understand how to put a ladder on a sloping roof or how to set up a ladder on a pitched roof, you’ll greatly reduce the risks of ladder-related accidents.
Importance of Ladder Safety on Sloped Roofs
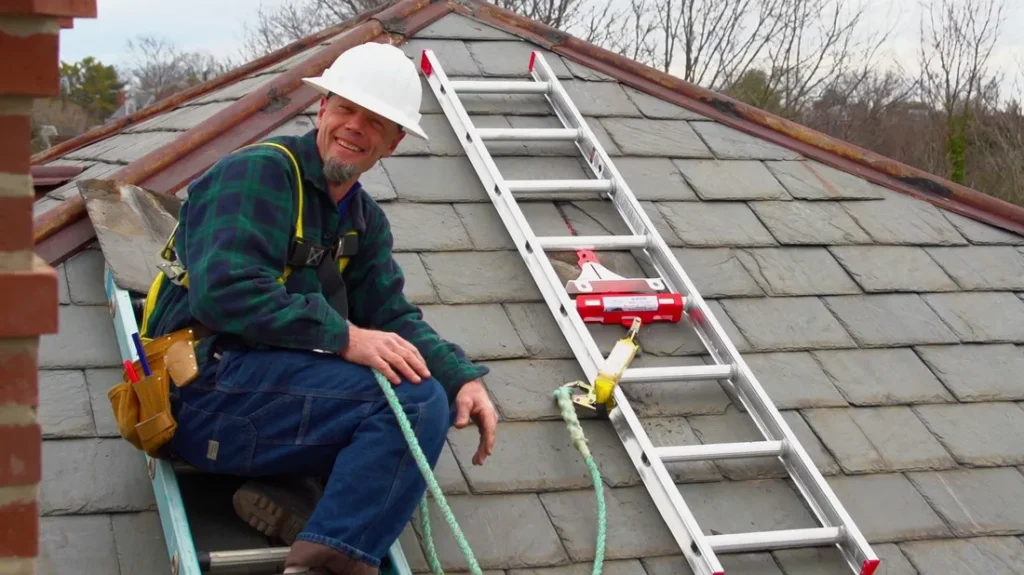
- Proper Ladder Angle: Always set your ladder at a 75-degree angle to prevent instability when using a ladder on a roof.
- Ladder Stabilizer: Use a ladder stabilizer for added security, especially when working on steep roof slopes.
- Secure Ladder Placement: Double-check that your ladder is on stable, even ground before climbing, particularly when putting a ladder on a roof.
- Avoid Slipping: Make sure your ladder is firmly positioned to avoid slippage or tipping over on a sloping roof.
Common Accidents and How to Avoid Them
- Ladder Tipping: Ensure the ladder is stable and placed at the right angle to prevent tipping over, particularly when putting a ladder on a pitched roof.
- Slipping: Use safety tools like the Pivit ladder tool to secure the ladder on a sloping roof and prevent slippage.
- Damaging Gutters: Carefully place the ladder when working on roofs with gutters to avoid causing damage. Securing a ladder to a roof properly can help avoid this issue.
- Ladder Overreach: Avoid leaning too far from the ladder, which can throw you off balance and lead to a fall when working on a pitched roof.
Types of Ladders Suitable for Pitched Roofs
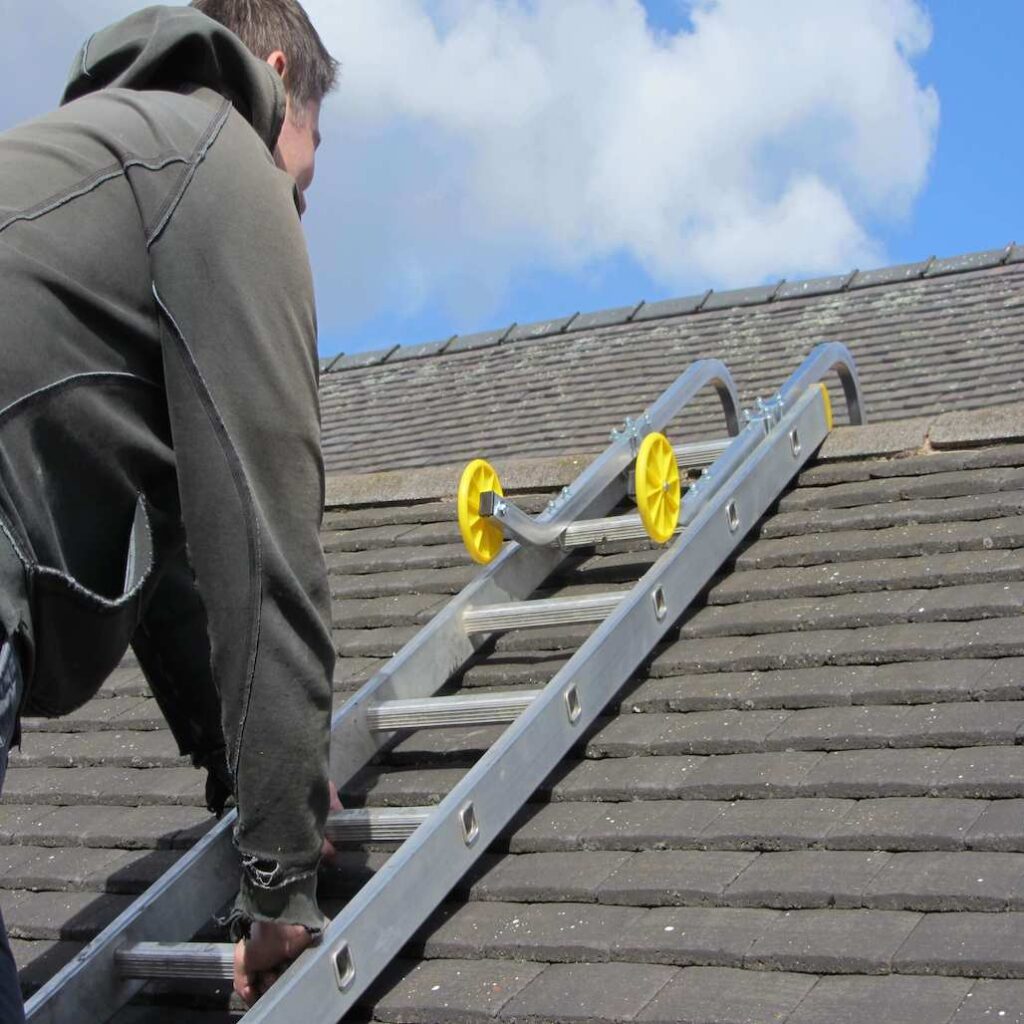
When it comes to using a ladder on a pitched roof, choosing the right type of ladder is crucial for both safety and ease of use. Different types of ladders are designed for different roof slopes, so knowing which ladder works best for your needs is important. Whether you’re working on a steep roof or a gentler slope, there are specific ladders that will provide the support and stability required to complete your tasks safely.
Each type of ladder has its own advantages depending on the pitch of the roof. By understanding the types of ladders suitable for sloping roofs, you can select the best option for your project and ensure that you’re working safely at all times.
Extension Ladders for Steep Roofs
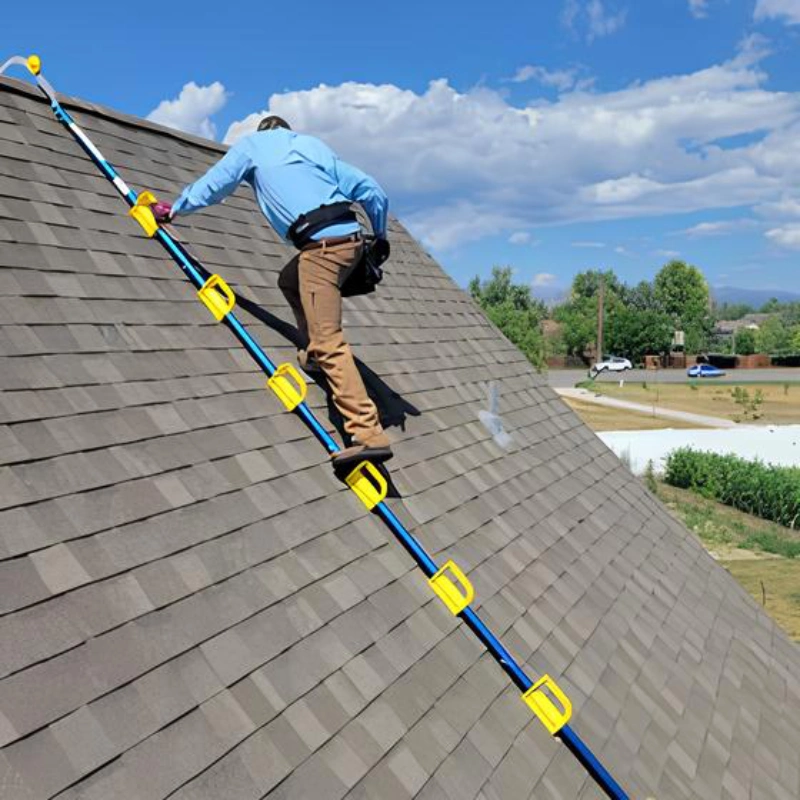
Extension ladders are ideal for steep pitched roofs or tasks that require extra height. They provide the necessary length to reach higher roof areas safely. Here’s how to use them effectively:
- Set the Ladder at the Right Angle: Ensure that the ladder is placed at a 75-degree angle to prevent slipping or instability while climbing.
- Secure the Ladder: Always secure the ladder before climbing to avoid tipping. Consider using a ladder stabilizer for additional support when using it on a steep roof slope.
- Check the Stability: Make sure the ground underneath is stable and flat, as this will further secure the ladder.
A-Frame Ladders for Lower-Pitched Roofs
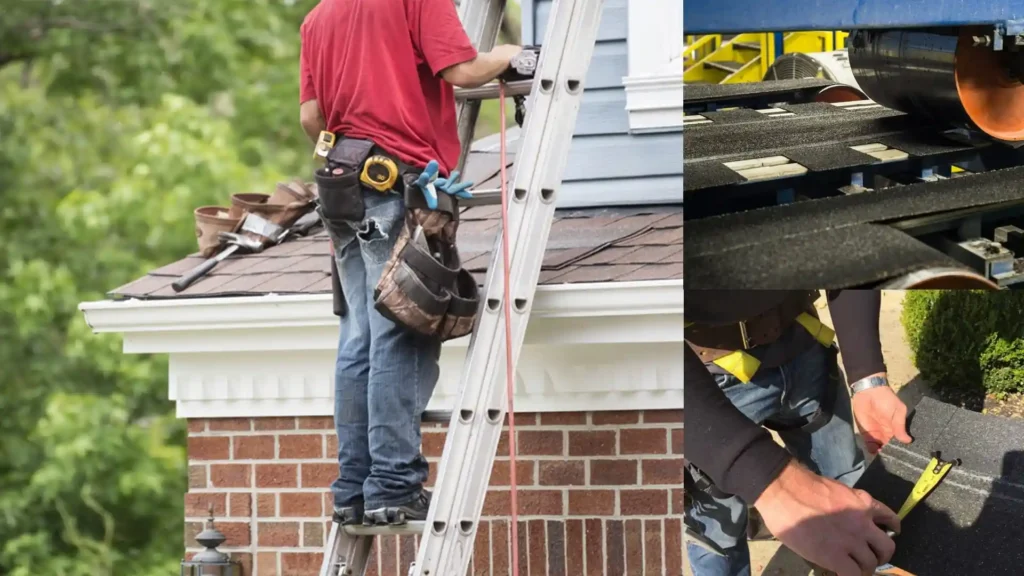
A-frame ladders are great for roofs with a gentle slope. These ladders are easy to set up and offer more stability on less steep surfaces. However, always make sure the base is solid before you begin to climb:
- Ensure the Base is Stable: When setting up an A-frame ladder on a sloped roof, make sure the feet are firmly planted to avoid any wobbling.
- Easy Setup: These ladders are easy to maneuver and set up, making them a great option for simple roof tasks like cleaning gutters or inspecting roofs with a slight incline.
- Limit the Reach: Since they are best suited for lower-pitched roofs, avoid using them on steeper roofs to ensure safety.
Little Giant Ladder for Angled Roofs
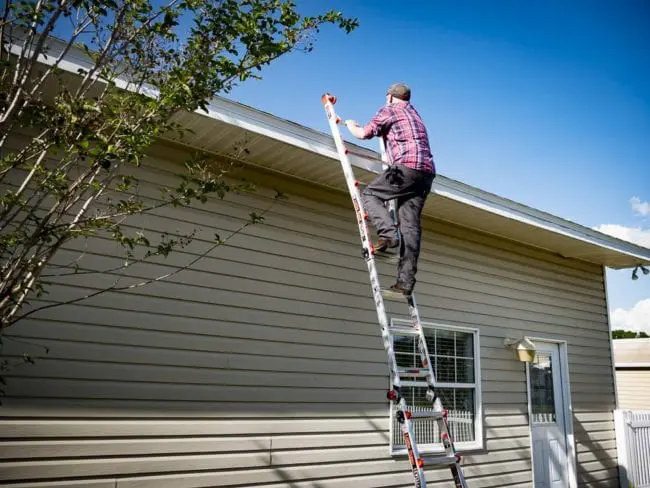
The Little Giant ladder is a versatile option for angled roofs and offers adjustable height and angles to suit various roof pitches. It’s perfect for situations where the roof angle changes, and a flexible ladder is required:
- Adjustable Design: The Little Giant ladder can adjust to various heights and angles, making it a great choice for working on angled roofs.
- Solid Support: It provides solid support when used on both low and steep sloped roofs, ensuring safety during work.
- Compact and Easy to Transport: Despite its versatility, it’s easy to carry around, making it ideal for contractors or DIYers who need a ladder for different roof types.
How to Safely Set Up a Ladder on a Pitched Roof
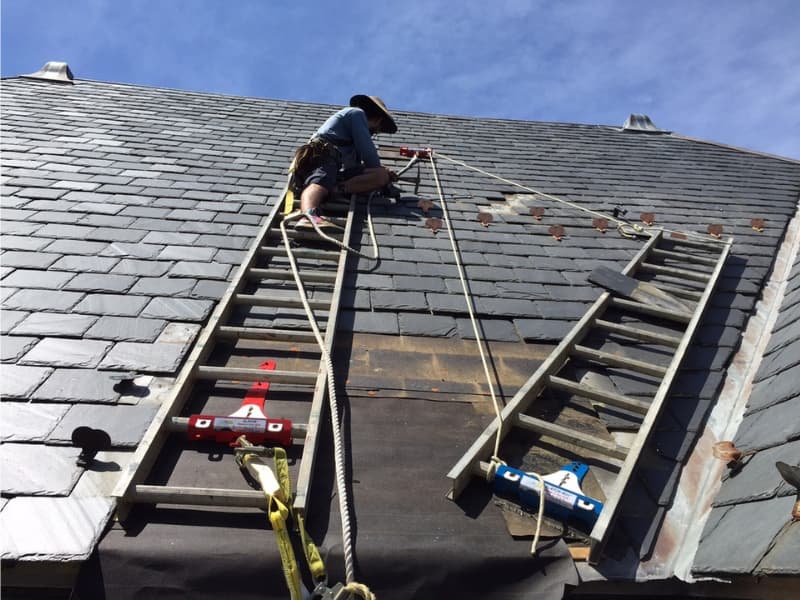
Setting up a ladder on a pitched roof requires extra care and attention. Unlike flat surfaces, sloping roofs introduce additional risks, so it’s essential to follow proper safety procedures when placing your ladder. Knowing how to secure a ladder on a pitched roof and how to set it up correctly will reduce the likelihood of accidents and falls, ensuring your safety while working at height.
By following a few simple steps, you can ensure that your ladder is stable and safe to use when working on your pitched roof. Whether you’re using a Little Giant ladder or a standard extension ladder, make sure to follow these guidelines for the best results.
Choosing the Right Location for Ladder Placement
- Solid, Flat Surface: Always place your ladder on a solid, flat surface whenever possible. If the surface is uneven or sloped, this could compromise your ladder’s stability.
- Use Stabilizers: When working on uneven ground, use ladder stabilizers or Pivit ladder tools to secure the ladder and prevent it from slipping or tipping over.
- Place Against the Roof: When setting your ladder against a pitched roof, ensure it is leaning at a proper angle to maintain balance and reduce the risk of it sliding down.
Proper Angle for Ladder Setup
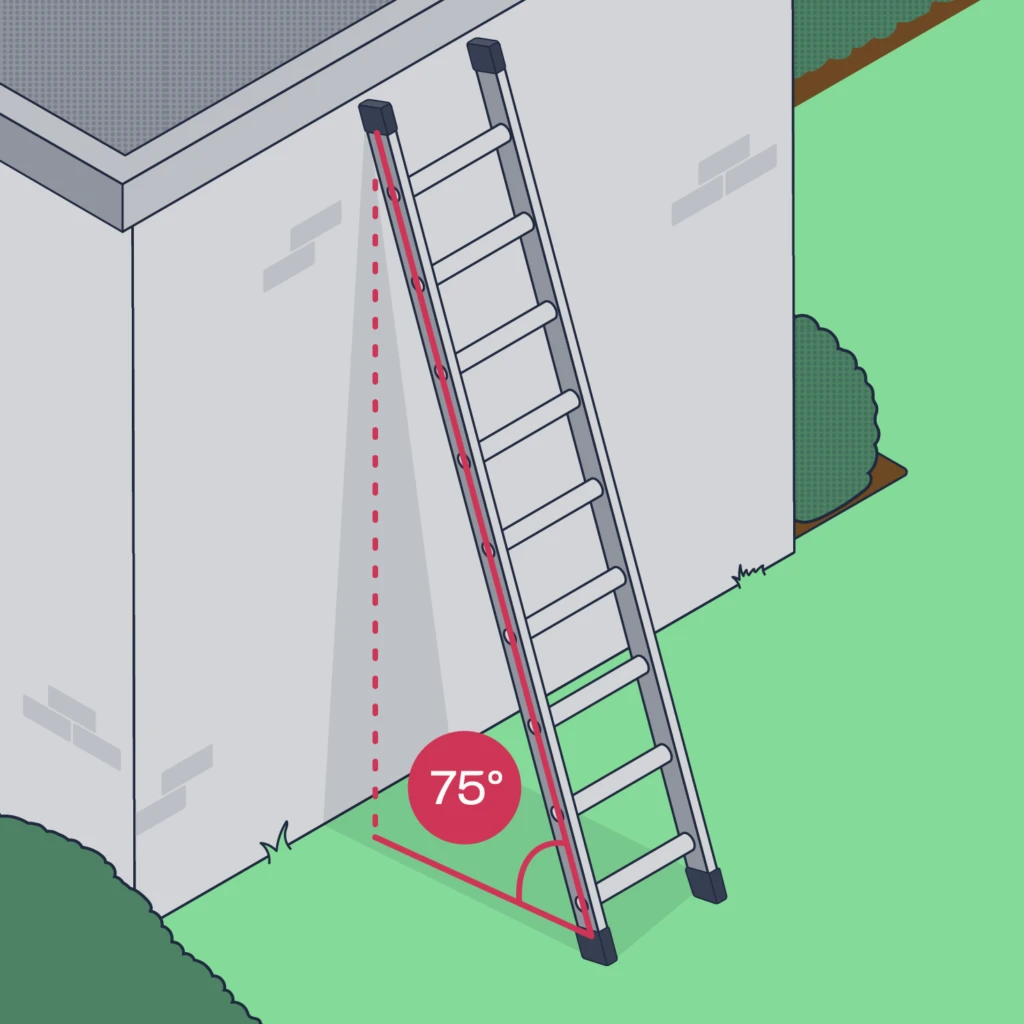
- 75-Degree Angle: Set the ladder at a 75-degree angle for optimum stability. This means the base of the ladder should be positioned 1 foot away from the roof for every 4 feet of height.
- Correct Positioning: This angle will help you maintain balance while climbing and reduce the chances of the ladder slipping or tipping. It’s essential for ladder safety on sloped roofs.
- Adjustable Ladders: If using an adjustable ladder like the Little Giant ladder, ensure that it is set up at the correct angle for the sloped roof you’re working on.
Securing the Ladder for Maximum Stability
- Use Ladder Stabilizers: To ensure that the ladder doesn’t move or slip, use ladder stabilizers or Pivit ladder tools. These will hold the ladder in place and ensure safety while working on a pitched roof.
- Check Stability Before Climbing: Double-check that the ladder is firmly positioned against the roof and does not have any wiggle or instability before you climb. This step is crucial for avoiding falls.
- Position Ladder Properly: When using the ladder on sloped surfaces, ensure that the ladder’s feet are securely positioned on the ground, and the top is aligned properly with the roof’s pitch.
Best Practices for Using a Ladder on a Sloping Roof
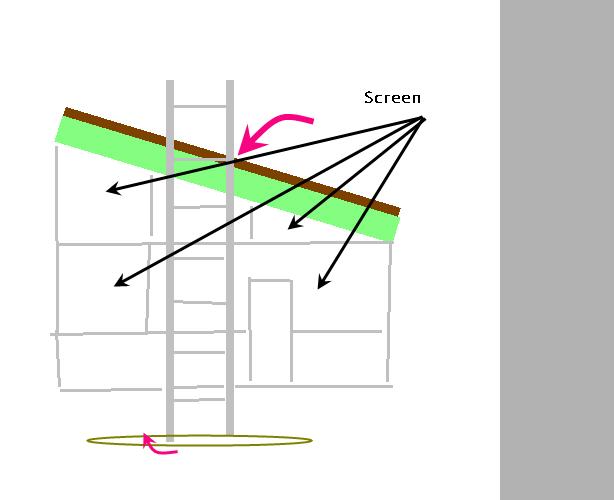
Using a ladder on a sloping roof requires special attention to ensure that you’re following the best practices for safety. The angle and height of the roof can create unique challenges, so it’s important to follow proven strategies to keep yourself safe while working at height. By being aware of these best practices, you’ll reduce the risk of falls and ensure a secure ladder setup.
Whether you’re using an extension ladder, an A-frame ladder, or a Little Giant ladder, adopting these safe techniques can help you complete your roofing tasks confidently and securely.
How to Climb the Ladder Safely
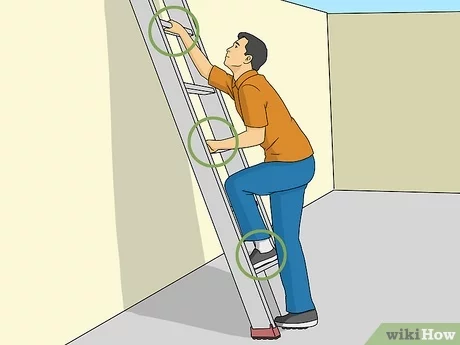
- Climb Facing the Ladder: Always climb facing the ladder to keep your body centered and in control. This minimizes the risk of losing balance.
- Grip with Both Hands: Use both hands to grip the ladder firmly as you ascend or descend. This ensures stability and prevents falls.
- Take Your Time: Don’t rush when climbing. Slow and steady movement will help you stay focused and balanced, especially on a sloping roof.
- Keep Your Feet Secure: Ensure your feet are firmly placed on the ladder rungs before moving upward. This adds extra stability and minimizes the risk of slipping.
Using a Ladder Stabilizer or Ladder Hooks
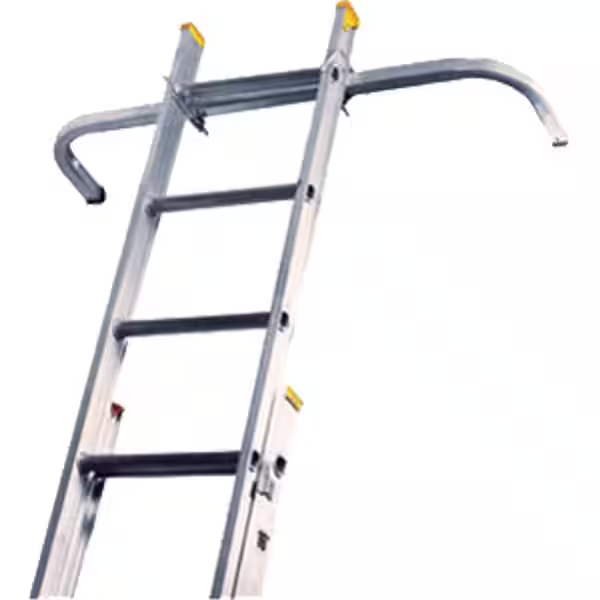
- Attach a Ladder Stabilizer: A ladder stabilizer provides additional stability, particularly on a pitched roof. It keeps the ladder from shifting or tipping over, even on sloped surfaces.
- Install Ladder Hooks: Ladder hooks can be attached to the top of your ladder to secure it against the edge of the roof. This prevents the ladder from sliding off, offering an extra layer of protection when working on a sloping roof.
- Enhanced Security on Steep Roofs: On steep roofs, ladder stabilizers or hooks ensure your ladder stays in place, making it safer to climb up or down.
- Adaptable to Various Roof Types: If you’re using a Little Giant ladder, adding stabilizers or hooks can increase the safety factor, as this adjustable ladder is often used for multiple roof angles.
How to Put a Ladder on a Roof with Gutters
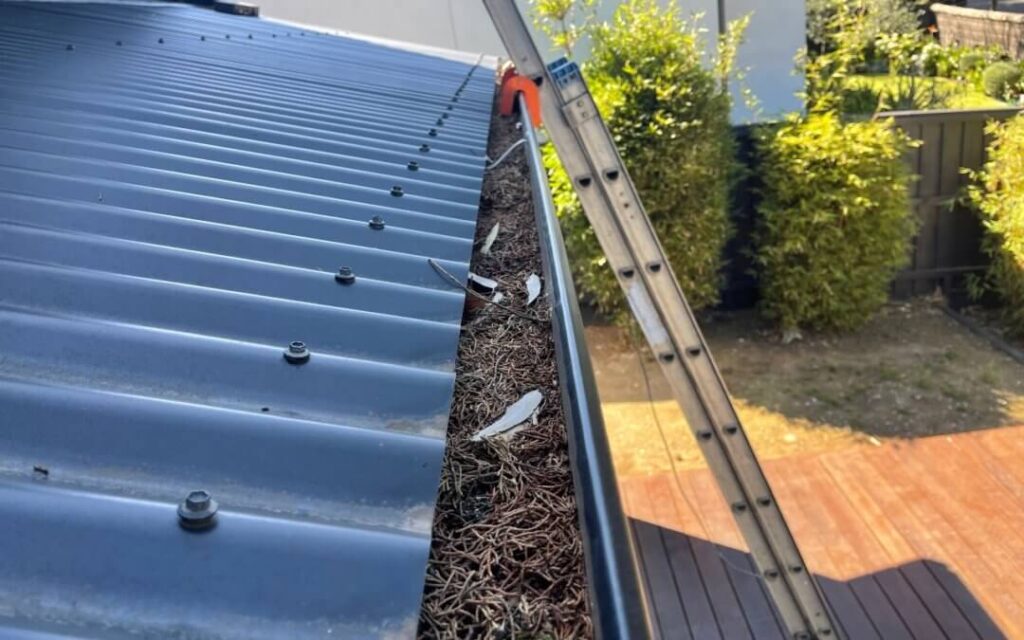
When you need to use a ladder to access a roof with gutters, it’s important to be cautious to prevent any damage to both the roof and gutters. Ladders can exert pressure that may cause dents, scratches, or even dislodge gutters, so using the right techniques to secure your ladder is crucial for preserving the integrity of your roof and gutters.
Follow these steps to set your ladder up safely and without risking damage to your gutters or roof while working on a pitched roof.
Avoiding Damage to Gutters
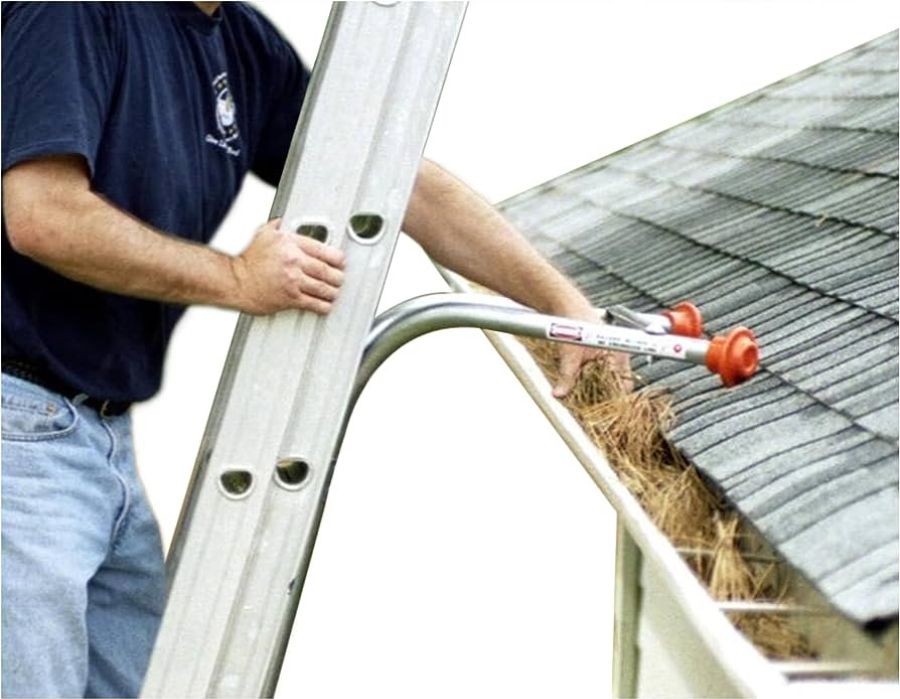
- Avoid Putting Excess Weight on Gutters: Gutters are not designed to support heavy weight. When setting your ladder near the gutters, make sure the ladder is positioned in a way that the weight is distributed properly to avoid stressing the gutter system.
- Use a Ladder Stabilizer: A ladder stabilizer helps to distribute the weight of the ladder more evenly, preventing excess pressure from being placed on the gutters.
- Rubber Cushions for Protection: Using rubber cushions on the ladder’s feet can provide extra protection against gutter damage. These cushions reduce the friction between the ladder and gutters, preventing scratches or dents.
- Adjust Ladder Position: Place the ladder slightly away from the gutters to reduce direct contact. This minimizes the risk of damaging the gutter edges.
How to Protect Your Roof and Gutters from Ladder Pressure
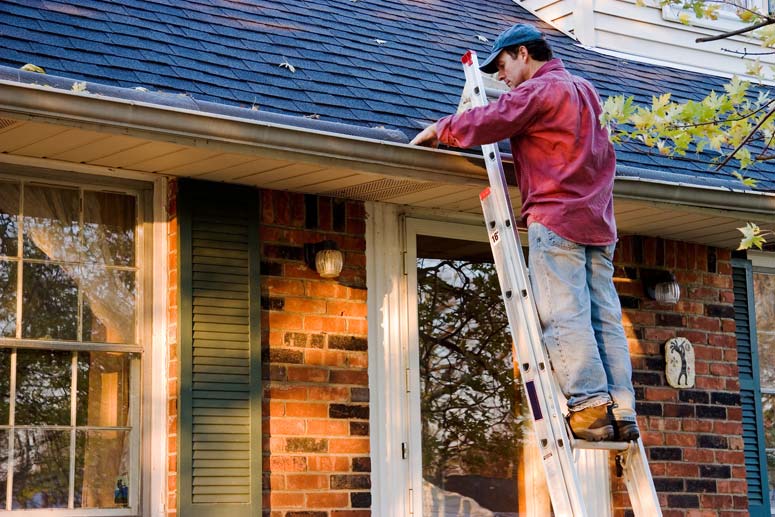
- Use Ladder Stabilizers on Sloped Roofs: Attach ladder stabilizers to the top of the ladder when working on a pitched roof to help prevent the ladder from leaning too heavily against the roof and gutters.
- Position Ladder on Secure Ground: Ensure the ladder’s base is on firm ground and properly positioned at a safe angle to prevent any unnecessary pressure on your roof or gutters. The correct 75-degree angle is ideal for stability.
- Use a Ladder Hook or Cushion: If you need to rest the ladder against the roof, consider using ladder hooks or cushions on the ladder’s top. These tools provide extra protection to both the roof shingles and the gutters, reducing the risk of causing damage.
- Check Before Climbing: Always inspect the placement of your ladder before climbing. Make sure that both the ladder and the gutters are secure and that no undue pressure is placed on either.
Additional Tips for Ladder Safety on Pitched Roofs
Using a ladder on a pitched roof requires more than just following basic setup guidelines—it’s also about ensuring your safety while climbing and working. By incorporating extra safety tips, you can reduce the risk of accidents and ensure you stay stable throughout your project. These ladder safety practices are essential for anyone working on sloped roofs, from professionals to DIY enthusiasts.
Whether you’re using an extension ladder, an A-frame ladder, or a Little Giant ladder, following these additional tips will keep you safe and confident while performing tasks on pitched roofs.
Always Use a Spotter for Added Safety
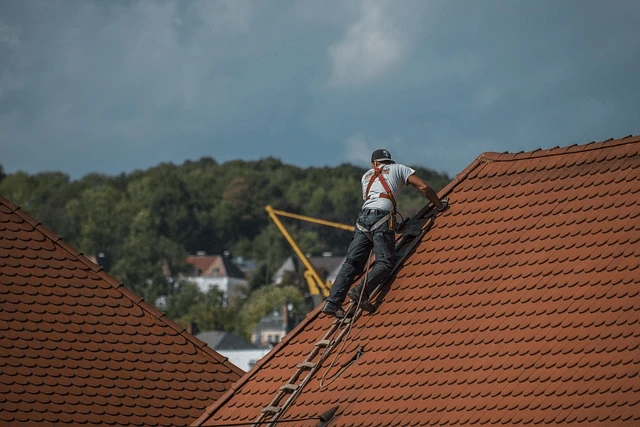
- Spotter Assistance: Having someone to assist you is one of the best ways to stay safe when using a ladder on a sloped roof. A spotter can hold the base of the ladder to prevent it from shifting or slipping while you climb.
- Help with Balance: A spotter can also help you maintain your balance as you climb, making sure you’re steady as you ascend or descend the ladder. This is especially important on steeper pitched roofs where maintaining balance can be tricky.
- Reassurance for Stability: If you feel unsure about the ladder’s stability, a spotter can provide immediate reassurance, allowing you to focus on your work without worrying about potential accidents.
Weather Conditions and Ladder Use
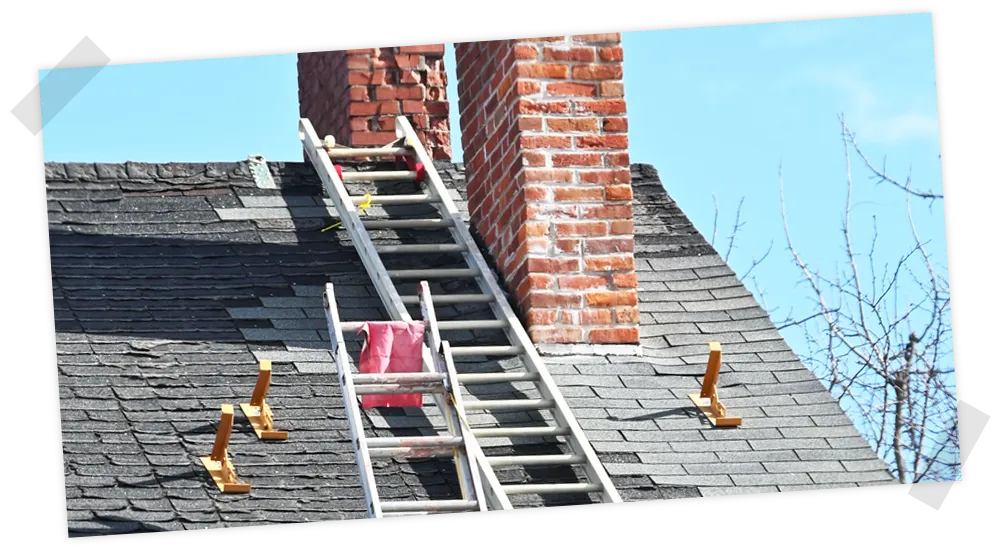
- Avoid Wet or Slippery Roofs: Never use a ladder on a pitched roof when it’s wet. Rain or dew can make roof surfaces slippery, significantly increasing the risk of slipping and falling while using the ladder.
- Stay Clear of Windy Conditions: Windy weather can make it more difficult to keep your balance on a ladder, particularly on sloped roofs. The wind can cause the ladder to sway, so it’s best to postpone your work until the weather is calmer.
- Assess the Roof Conditions: Before setting up the ladder, ensure that the roof is dry and free from any slippery debris like leaves, moss, or algae that could cause you to lose your footing.
Wear Proper Footwear for Ladder Stability
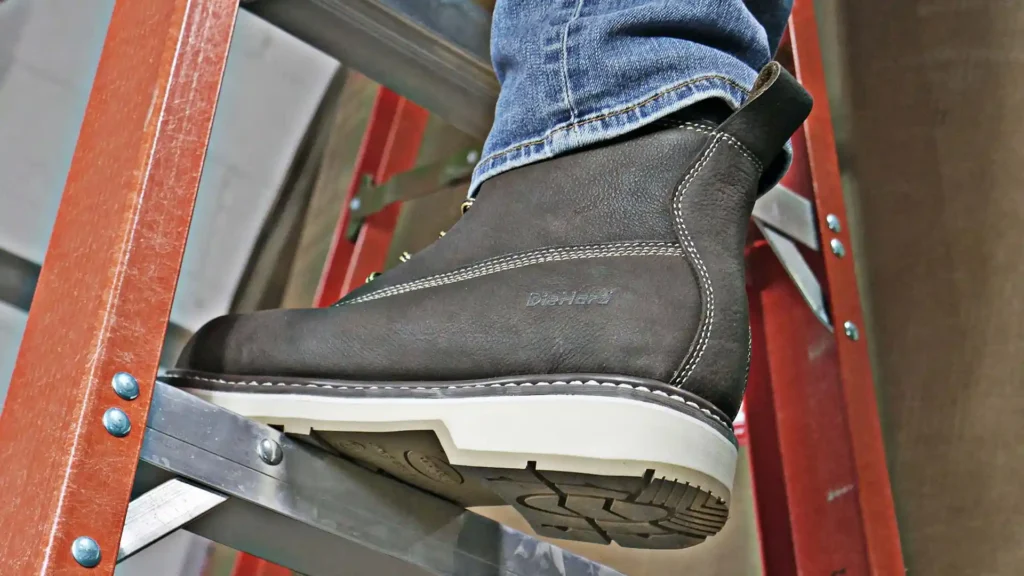
- Non-Slip Shoes Are Essential: Wearing proper, non-slip footwear is critical when working on a ladder. Shoes with a good grip will help keep you stable while climbing and working on the ladder, especially when navigating the steps on a pitched roof.
- Avoid Open-Toed Shoes: Always wear closed-toe shoes with a sturdy sole to prevent injury. Open-toed shoes can expose your feet to potential accidents, especially when working at height.
- Check for Wet Footwear: Make sure your shoes are dry before using the ladder. Wet or damp shoes can reduce the traction between your feet and the ladder, increasing the risk of slipping.
Tools and Equipment to Enhance Ladder Stability
When working on pitched roofs, having the right tools and equipment can significantly enhance the safety and stability of your ladder setup. Using ladder stabilizers, the Pivit ladder tool, and safety harnesses can minimize the risk of falls and help keep you secure while working at height. Properly stabilizing your ladder is essential to prevent accidents and ensure a stable platform for your tasks.
These tools not only make working on sloped roofs easier, but they also increase your confidence and reduce the likelihood of accidents. Let’s look at some of the best equipment to consider when using a ladder on a pitched roof.
Ladder Stabilizers and Levelers
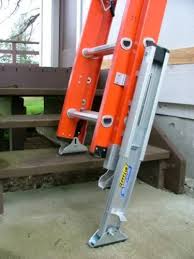
- Prevent Ladder Movement: Ladder stabilizers are designed to keep the ladder from shifting sideways, providing a much-needed extra layer of safety, especially when using a ladder on a pitched roof. They secure the ladder against the roof and prevent it from slipping or tipping.
- Improved Stability: These stabilizers also help level the ladder on uneven surfaces, ensuring that your ladder remains secure as you climb. By distributing the ladder’s weight more evenly, stabilizers reduce the risk of instability, which is crucial when working on a sloped roof.
- Easy Installation: Most ladder stabilizers are easy to install and can be used on various ladder types, making them a versatile tool for anyone working on angled roofs.
The Pivit Ladder Tool
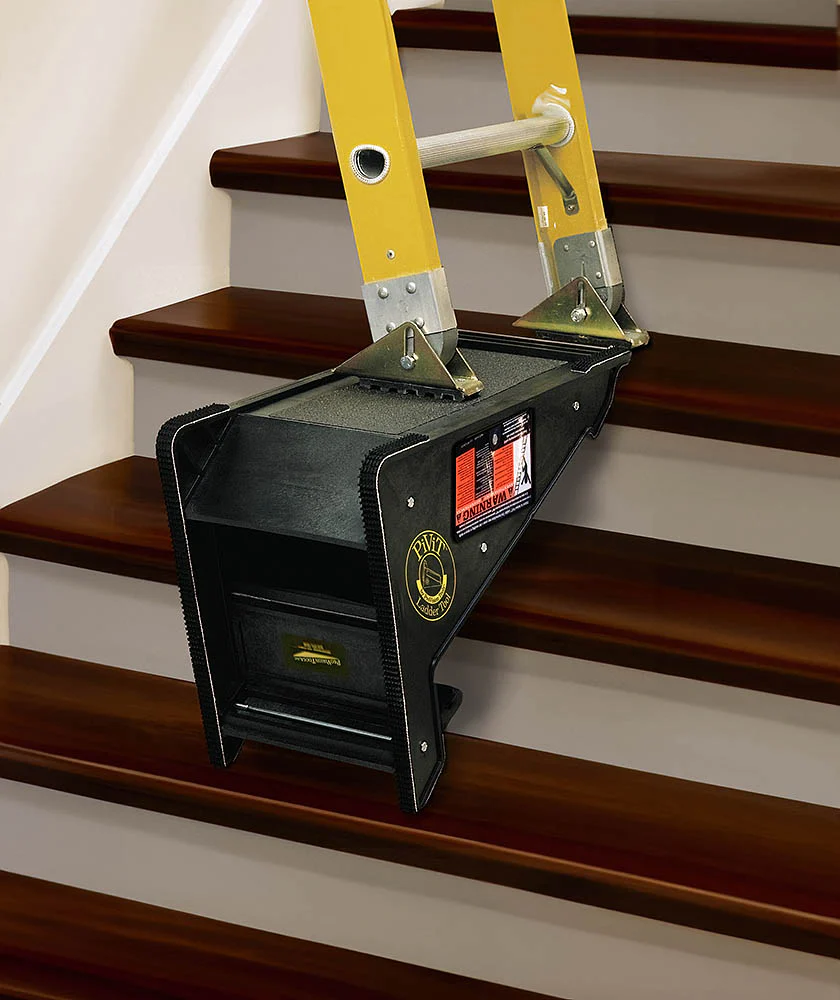
- Simplifies Ladder Setup: The Pivit ladder tool is an innovative tool that makes it easier to set up a ladder on sloping roofs. It allows you to quickly and easily adjust the angle of the ladder, providing the correct and safe positioning for your work.
- Increased Stability: By securing the ladder in place, the Pivit tool helps prevent the ladder from wobbling or sliding, offering greater stability when you’re working at height.
- Great for Steep Roofs: This tool is especially helpful when working on steep pitched roofs, where maintaining a safe angle is critical for your safety.
Using Safety Harnesses and Ropes
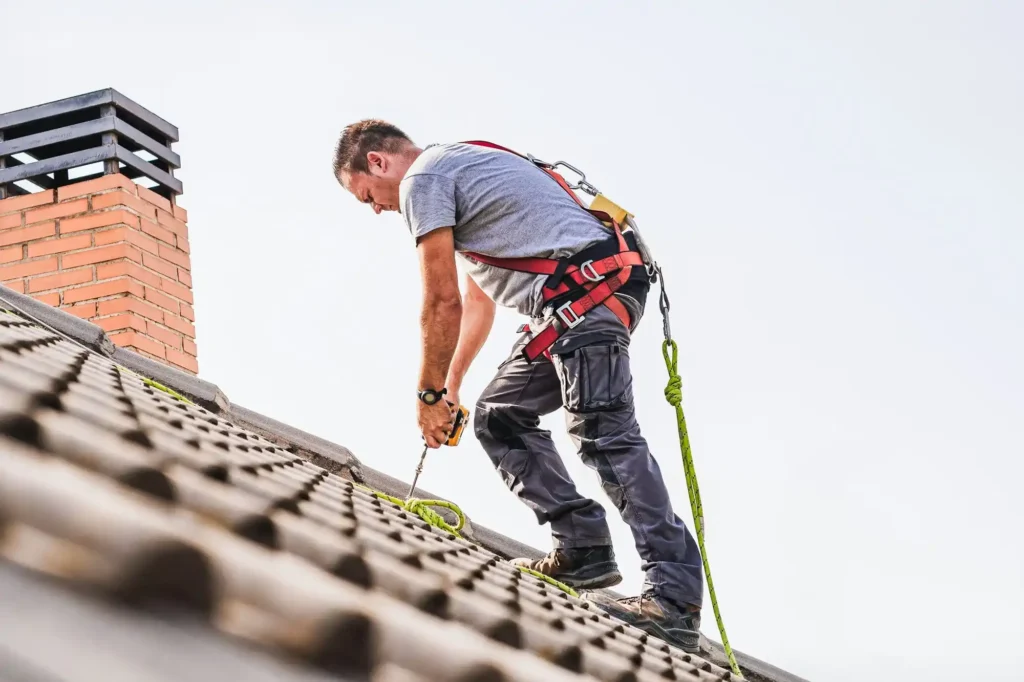
- Additional Safety Measure: Safety harnesses and ropes are essential when working on a pitched roof at significant heights. These tools provide an extra layer of protection in case of a fall, ensuring that you remain attached to the ladder or structure.
- Prevent Falls: A safety harness is designed to keep you secure and prevent dangerous falls, which can occur even if the ladder is properly secured. Ropes and harnesses offer peace of mind, allowing you to focus on the task at hand without worrying about losing your balance.
- Proper Setup: Ensure your safety harness is properly attached to a stable structure and that ropes are tensioned appropriately to keep you in place.
How to Set Up and Take Down a Ladder on a Pitched Roof
Setting up and taking down a ladder on a pitched roof may seem straightforward, but it’s crucial to follow proper procedures to ensure safety. Whether you’re working on a sloped roof or angled roof, these steps will help you set up your ladder securely and take it down without compromising your safety. Let’s walk through the process to ensure a safe and stable setup.
Step-by-Step Guide to Proper Ladder Setup
Follow these simple steps to safely set up your ladder on a pitched roof:
- Place Your Ladder at the Proper Angle (75 Degrees): Set your ladder at a 75-degree angle for maximum stability. This means the bottom of the ladder should be 1 foot away from the roof for every 4 feet of height. This angle ensures that the ladder is positioned correctly, reducing the risk of tipping.
- Ensure the Base is Stable and Secure: Before climbing, make sure the base of the ladder is on a stable, level surface. If the ground is uneven, use stabilizers or place the ladder against a sturdy surface to provide additional security. A ladder stabilizer can prevent side-to-side movement, offering more stability during use.
- Use a Stabilizer to Prevent Slipping: Attach a ladder stabilizer to help secure the ladder, especially when using it on sloping roofs. These stabilizers will keep the ladder from slipping and provide additional support, especially when working on higher or steeper roofs.
Taking Down the Ladder Safely After Use
After completing your work on the pitched roof, it’s important to safely take down your ladder. Here’s how to do it:
- Carefully Descend the Ladder: When you’re done with your task, carefully descend the ladder while facing it. Ensure that both feet are firmly placed on each rung as you climb down, keeping your body centered. This minimizes the risk of slipping or losing balance.
- Remove Any Stabilizers: If you’ve used a ladder stabilizer, detach it after you’ve safely descended. Be sure to remove any additional tools, like the Pivit ladder tool, before moving the ladder.
- Check the Ladder’s Condition: Before storing your ladder, inspect it for any damage or wear. Check the rungs, the base, and any accessories like stabilizers. Make sure everything is in working order to avoid any accidents during future use.
Conclusion: Mastering Ladder Safety on Pitched Roofs
- Using a ladder on a pitched roof requires careful planning and safety measures.
- Key steps to ensure safety:
- Proper ladder setup: Ensure the ladder is at a 75-degree angle.
- Securing the ladder: Use ladder stabilizers or tools like the Pivit ladder tool.
- Choose the right ladder: Whether it’s a Little Giant ladder, extension ladder, or A-frame ladder, pick the one suitable for your roof.
- Check surroundings: Ensure the ground is stable and solid before setting up the ladder.
- Safety tips:
- Always check your ladder’s condition before use and after finishing the task.
- Use proper footwear to ensure better grip and stability while climbing.
- Use spotters when possible for added safety, especially when working at heights.
- Avoid using the ladder in wet or windy conditions.
- Ensure your ladder is equipped with necessary safety tools:
- Ladder stabilizers prevent slipping and tipping.
- Safety harnesses and ropes add extra security when working at heights.

